Last updated November 18, 2026




Free written scope consultation - allowances, timeline, and change-order rules on paper before a single trade is scheduled
Driveway & Pavers Maintenance Checklist for Paradise Homeowners
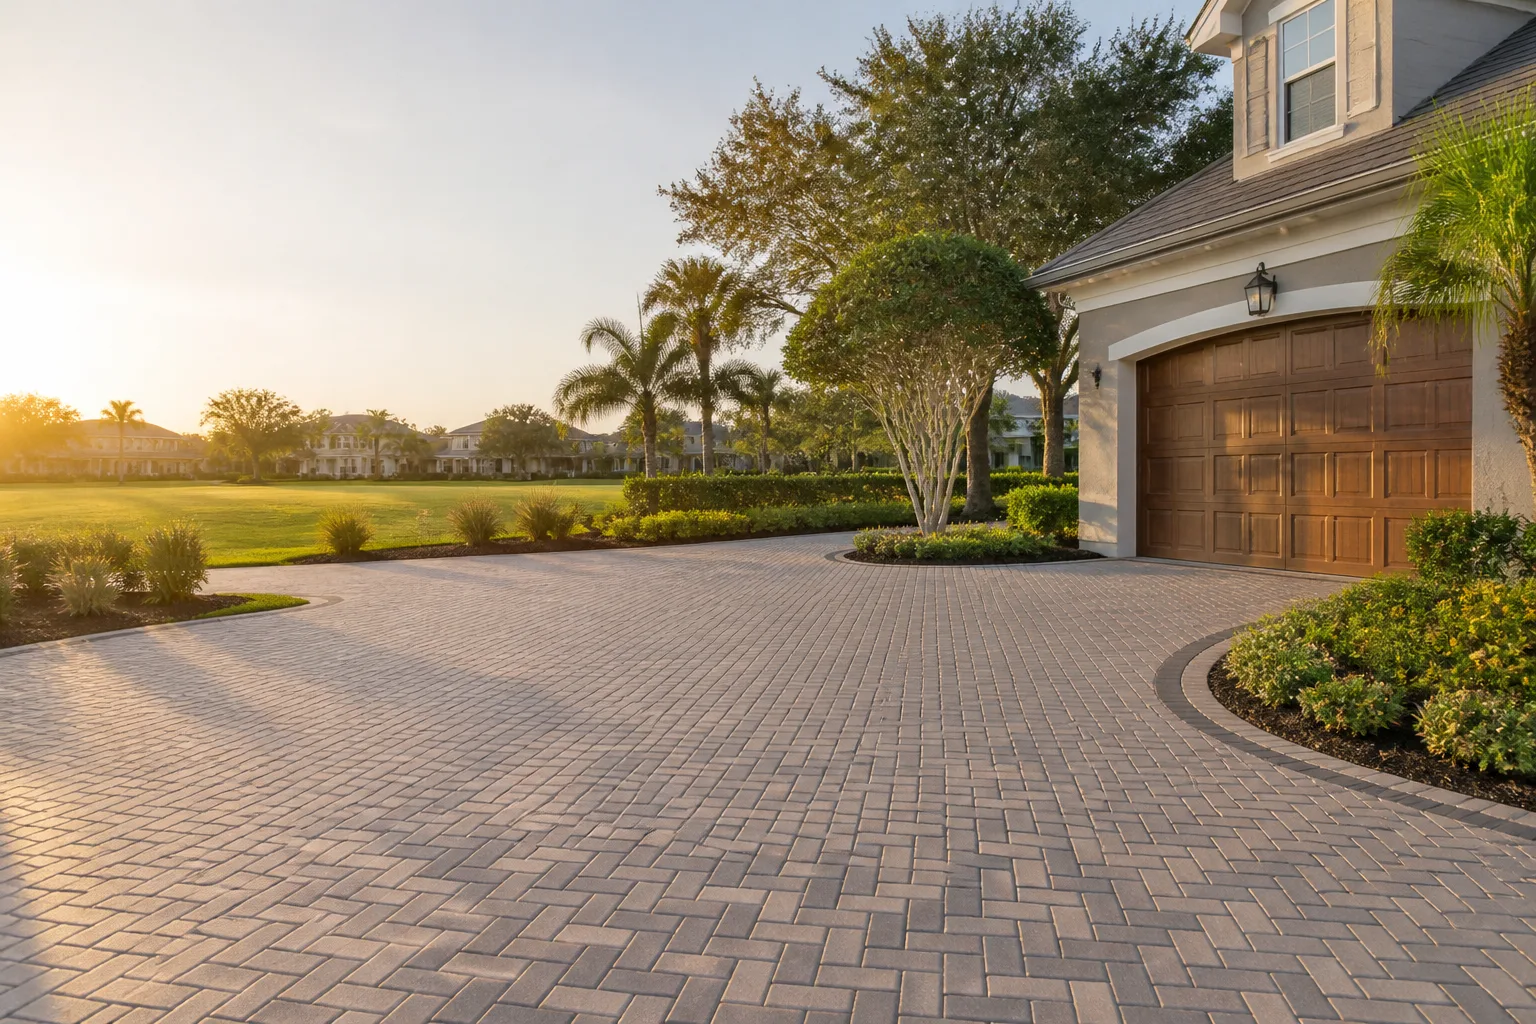
That white powdery crust creeping across your pavers isn’t a cleaning problem. It’s a sealing and drainage problem, and if you power-wash it off without fixing the cause, it’ll be back in about six weeks. Most Paradise driveways start showing their first real wear within five years of installation, and it’s not because the pavers were cheap. It’s because a Paradise driveway lives through a punishment cycle the manufacturer never designed for: alkaline mineral runoff from below, relentless UV from above, and surface temperatures that hit 110°F and swing dozens of degrees overnight. This checklist walks you through what to do in each season, how to tell serious damage from cosmetic wear, and which repairs actually protect your investment.
Quick Answer
A Paradise paver driveway needs four things done on a schedule: a pre-summer seal before the heat peaks, a monsoon drainage check every August, a post-summer joint inspection, and a winter freeze check after the first cold snap. Seal only when the surface is clean and dry, inspect joints twice a year, and fix efflorescence at the source instead of scrubbing it off. Do those four things and most driveways in Paradise last 25 to 30 years instead of 12 to 15.
Styles & brands we work with
- Kitchen remodeling
- Bathroom remodeling
- Home additions & ADU
- Roofing
- Windows & doors
- Driveway & pavers
- Fence
Table of Contents
- Why Paradise Driveways Age Faster Than the Label Says
- Efflorescence vs. Calcium Staining: How to Tell Them Apart
- Choosing Joint Sand That Survives Desert Heat
- Season-by-Season Maintenance Checklist
- How Often Should You Seal, and Why More Isn’t Better
- Which Cracks Are Cosmetic and Which Mean Base Failure
- Cleaning Products That Work in Paradise (and Two That Don’t)
Why Paradise Driveways Age Faster Than the Label Says
Standard paver guidance assumes moderate humidity, mild temperatures, and neutral soil chemistry. Paradise delivers none of those. The caliche layer common under a lot of local soil is heavily alkaline, and when groundwater or irrigation runoff moves through it, it carries dissolved minerals up into your paver joints and base. That’s where the white crust starts. Meanwhile, surface temps on a full-sun paver driveway in July can run 40 to 50 degrees above air temperature, so every joint, edge restraint, and sand line expands and contracts with the daily cycle.
What does that actually mean for you? Two things:
- Joints open faster. The daily heat cycle works sand loose more quickly than in cooler climates, and once a joint has a gap wider than about a quarter inch, water gets in and base erosion begins.
- Efflorescence comes from below, not from dirt. The mineral bloom is calcium carbonate driven up through sand by moisture. Cleaning the top only hides the symptom.
We’ve seen Paradise driveways installed with quality Belgard and Techo-Bloc product show more joint loss in five years than the same product installed in coastal climates shows in twelve. The pavers are fine. The maintenance schedule is what’s off. If you want to understand the installation side before worrying about upkeep, our Driveway & Pavers in Paradise page covers base prep, edge restraints, and compaction in detail.
Efflorescence vs. Calcium Staining: How to Tell Them Apart
The two look similar from the driver’s seat, and homeowners regularly treat one as the other. It matters because the fix is completely different.
Efflorescence
Efflorescence is a white, powdery, crystalline bloom that appears on the surface as moisture evaporates. Rub it between your fingers and it dissolves like salt. It reappears in the same spots after rain or after watering the yard. It’s a sign that water is migrating through the pavement from the base or from runoff, carrying calcium carbonate from the caliche layer up to the surface.
Calcium staining
Calcium staining is harder, chalkier, and stays put when you scrub it dry. It doesn’t dissolve with water. It’s usually a chemical deposit left by prolonged contact with hard water, fertilizer runoff, or irrigation spray. It leaves a dull haze that no amount of sweeping will lift.
Why the fix is completely different
Efflorescence is a drainage and moisture problem. You solve it by correcting water movement under and through the pavers, re-sanding joints with the right formulation, and sealing only after the moisture has cycled out. Scrub it off with a cleaner and you’ll have it back in six weeks, guaranteed. Calcium staining is a surface chemistry problem. It needs a formulated acidic paver cleaner, careful dilution, and a rinse, and it’s usually safe to treat once or twice a year. Using the efflorescence tactic on calcium staining wastes time. Using the calcium tactic on efflorescence makes it worse because you’re still not addressing the moisture.
If you’ve got the powdery version coming back in the same spot, that’s not a cleaning job. That’s a base and joint inspection.
Choosing Joint Sand That Survives Desert Heat
Standard polymeric sand is the default at most big-box stores, and for a Paradise driveway it’s usually the wrong choice. Polymeric sands cure to a hard, semi-rigid bond. That’s great where temperature swings are modest. In Paradise, that hard cure cracks under the daily thermal cycle faster than plain sand and locks moisture inside the joint, which is exactly what drives efflorescence. We’ve pulled apart two-year-old driveways where the polymeric had failed and the joint was holding water against an eroding base.
What actually holds in this climate:
- High-performance stabilized sand (not polymeric). Products engineered for high UV and high heat tolerances, without the rigid polyurethane binder that cracks under thermal cycling. Look for UV-stabilized formulation on the bag.
- Correct grain size for your joint width. A joint under an eighth inch takes fine sand. Wider joints take a coarser blend. Filling a wide joint with the wrong sand means it blows out in the first shamal.
- Dry application and compacted fill. Applied dry, swept in tight, compacted with a plate vibrator. Sand applied wet or in one pass will wash out with the first monsoon.
- Re-sand every 18 to 24 months. Not because the sand is failing, but because the daily expansion cycle consumes joint fill on schedule.
Ask exactly what formulation is going in before anyone shows up. It’s a fair question and it separates a professional from a handyman with a bucket. The brands we install on hardscapes come with published technical data, so you can look up the spec before you write the check.
Season-by-Season Maintenance Checklist
This is where most Paradise driveways get saved or lost. Each season has one specific job, and skipping a season settles last for years.
Late winter to early spring (February – March): the pre-summer seal window
This is the one annual window where surface and air temperatures allow sealant to cure properly. Do not seal in June or July, no matter what the salesperson says. Surface temps over 90°F when the sealant goes down lead to flashing, tackiness, and premature failure. Clean thoroughly, correct any efflorescence at the source, dry for at least 48 hours, then apply.
Early summer (May – June): joint inspection before the peak heat
Walk the driveway with a screwdriver blade or a stiff putty knife. Probe every joint. Any joint that gives more than about an eighth inch of drop means the sand is loose and needs re-sanding before the expansion season.
Monsoon (July – September): drainage check after every rain event
This is the season that finds every drainage flaw. After a real rain, walk the driveway. Standing water more than 24 hours after rain means a drainage problem. Sand banks piled at the low edge mean joints are washing out. Catch it in August and you’re re-sanding. Miss it until November and you’re looking at base repair.
Fall (October – November): post-summer joint inspection
Second walk with the putty knife. Anything the monsoon washed out gets re-sanded. This is also the best window to correct small cracks and hairlines before winter freeze.
Winter (December – February): freeze check
Yes, Paradise gets freezing nights. Not many, but the ones that matter go from 75°F afternoon to near-freezing overnight. Any paving that took water in the fall can heave slightly with a hard freeze. Walk the driveway after the first cold snap and look for lifted pavers or popped joints. If you find them, don’t drive over them until they’re reset. A cracked paver from cold heave damages the base under the wheel path.
How Often Should You Seal, and Why More Isn’t Better
Once every two to three years is the right answer for a Paradise paver driveway. Sealing every year is one of the most common mistakes we see, and it does real damage. Here’s why.
Sealant is a moisture barrier, not a moisture solution. Each coat lets the surface shed water slightly better, but it also traps whatever moisture is already inside the paver and joint. If efflorescence is active (minerals coming up from below) and you seal over it, you trap the moisture against the surface, and the calcium carbonate recrystallizes just under the seal coat. That’s what causes spalling: the top face of the paver flakes off in flakes the size of a half-dollar. We’ve seen driveways ruined by aggressive annual sealing that would have been fine with none.
What we tell Paradise homeowners:
- Never seal new pavers in the first 60 days. The base and joint sand need to cycle moisture out.
- Never seal over efflorescence. Correct the source first, wait for full dry, then seal.
- Never seal in high summer. The surface is too hot and the sealant won’t cure correctly.
- Match the sealant to the paver. A penetrating sealer on a porous paver. A film-forming sealer only on a dense paver that’s already in good condition. Different jobs, different products.
A sealer applied once every two-to-three years to a clean, dry, well-sanded driveway will keep the surface color and reduce joint loss. A sealer applied every year will seal in moisture and accelerate wear. That’s not a generic warning, it’s the single most damaging thing we see on Paradise hardscape maintenance.
Which Cracks Are Cosmetic and Which Mean Base Failure
Every paver driveway shows lines eventually. The trick is knowing which lines matter. Here’s the visual test we walk homeowners through, and you can do it yourself in five minutes.
- The knife test. Slide a putty knife into the crack. If it stops at the joint depth (about an eighth to a quarter inch), it’s a joint line and it’s cosmetic. If the blade travels deeper than a half inch, the base under the joint has loosened.
- The wiggle test. Press on a paver beside the crack. If it rocks or flexes under your hand, the base is failing under that paver.
- The hairline test. Hairline cracks within a single paver’s face (small cracks no wider than a credit card) are usually cosmetic thermal stress. Cracks that run in a continuous line for four feet or more, crossing pavers and joints, mean the base layer has settled or a paver is sitting on a void.
- The joint step test. If two adjacent pavers are visibly at different heights (more than about a quarter inch step), the base under the low one has compacted. That’s failure, not cosmetic.
- The color-blotch test. Dark wet patches that don’t dry out after a day of sun mean water is trapped under the base. That leads to settling and typically follows within a season.
Cosmetic lines can be re-sanded and sealed. Base failures need the paver removed, the base recompacted or replaced, and the paver reset. Waiting on a base failure costs more, because the subbase under the loose paver erodes wider over each rainy season.
Cleaning Products That Work in Paradise (and Two That Don’t)
Cleaning a Paradise paver driveway is mostly about matching the product to the problem, not about scrubbing harder. Here’s what actually works and what adds damage.
What works
- On typical dust and desert grit: a leaf blower and a garden hose. Nothing fancier needed. Sweep or blow weekly during windy months to keep grit from working into joints.
- On calcium staining: a formulated acidic paver cleaner, diluted per the label, applied to a wet surface, worked with a soft-bristle brush, then thoroughly rinsed. One application, one rinse, done. Never leave an acid cleaner to dry on the surface.
- On efflorescence: first, correct the moisture source. Then, if there’s residual bloom, a diluted efflorescence remover (not the calcium cleaner) applied per the label. Do not power-wash the bloom off the top. It always comes back and the pressure drives water into the joints.
What doesn’t
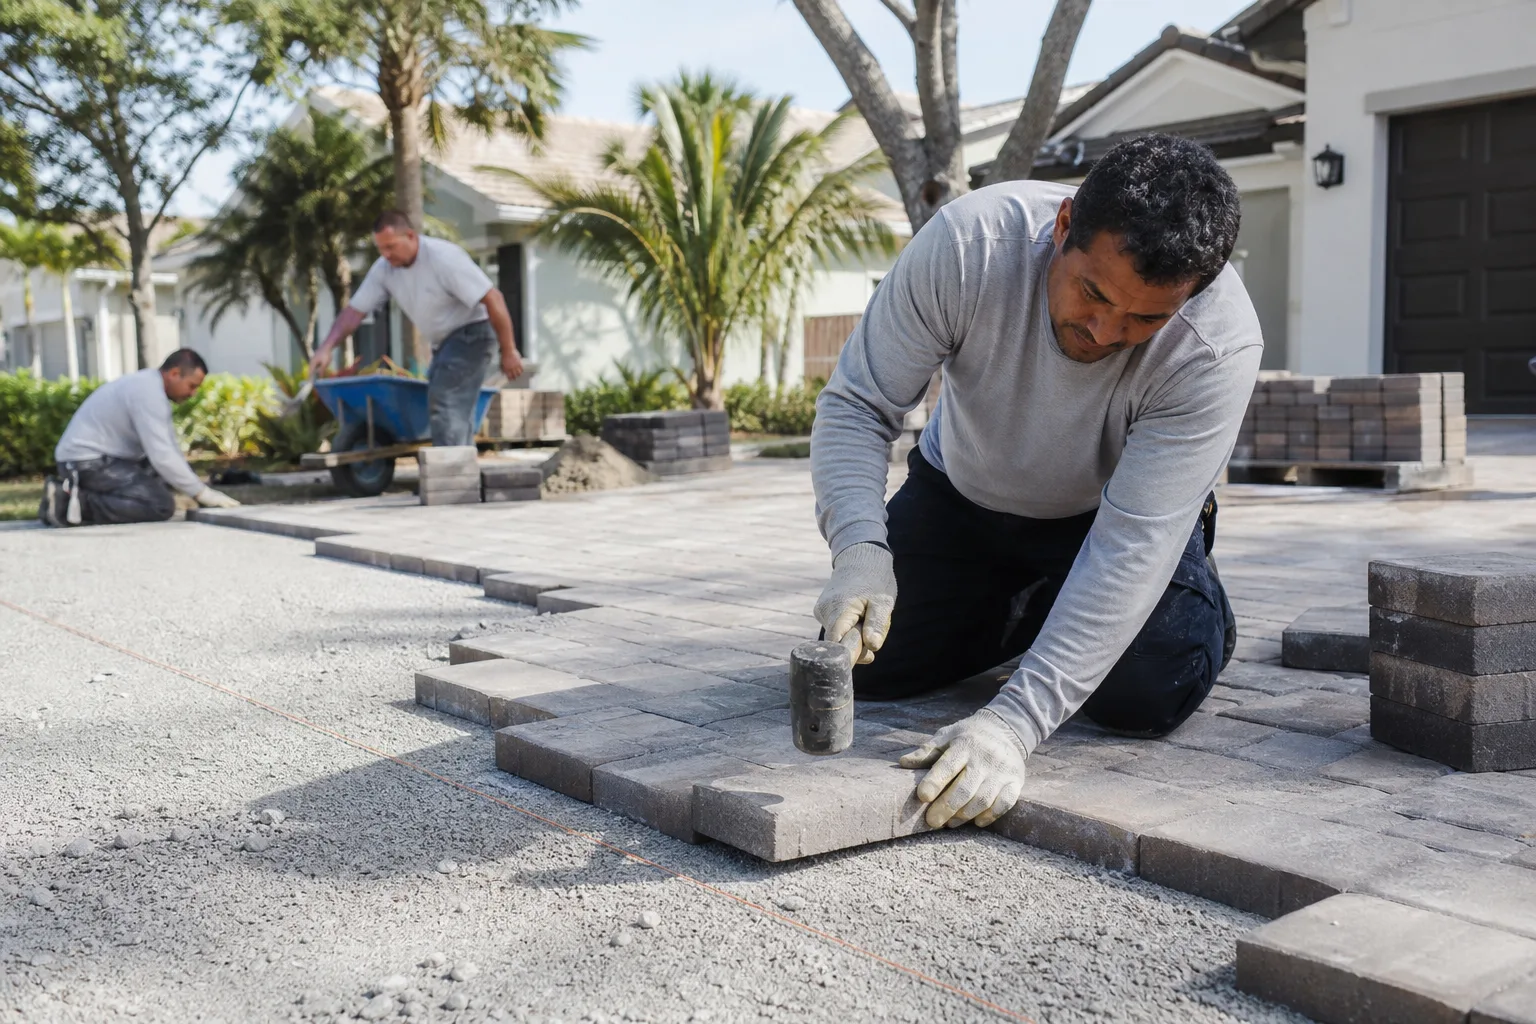
- Power-washing at high pressure. Sands out joints, drives water into the base, and starts the exact efflorescence cycle you’re trying to break. A gentle rinse at low pressure is fine. A 3,000 PSI wand will cost you re-sanding every time.
- Chlorine bleach, undiluted, and TSP-heavy cleaners. These can bleach color from the pavers and some react badly with sealant. If you’ve got a dark organic stain (usually fertilizer or plant matter), diluted hydrogen peroxide or a specialized paver cleaner is the right starting point.
Common Mistakes to Avoid
- Sealing in July or August. Surface temps push past 90°F by 9 a.m. and the sealant cures wrong. The pre-summer February-March window is the only reliable sealing window in Paradise.
- Power-washing the efflorescence off without fixing the cause. It’s back in six weeks, every time, because the moisture problem is under the surface.
- Using standard polymeric sand in this climate. The rigid binder cracks under the daily thermal cycle, holds moisture, and worsens efflorescence. Ask what formulation is going in before you write a check.
- Skipping the post-monsoon drainage inspection. The August-September rains find every drainage problem. Catch it in October and you’re re-sanding. Miss it until spring and you’re looking at base repair.
- Re-sealing annually. Every extra coat traps moisture in the joints and pavers. It’s one of the leading causes of paver spalling we see.
- Driving over a popped paver after a freeze. The cold heave cracks the paver under the tire and puts the base at risk. Reset it before driving on it.
- Ignoring a step of a quarter inch between adjacent pavers. It’s easy to walk past. It’s a base failure waiting for the next monsoon, and it costs more to fix every season you wait.
See the difference
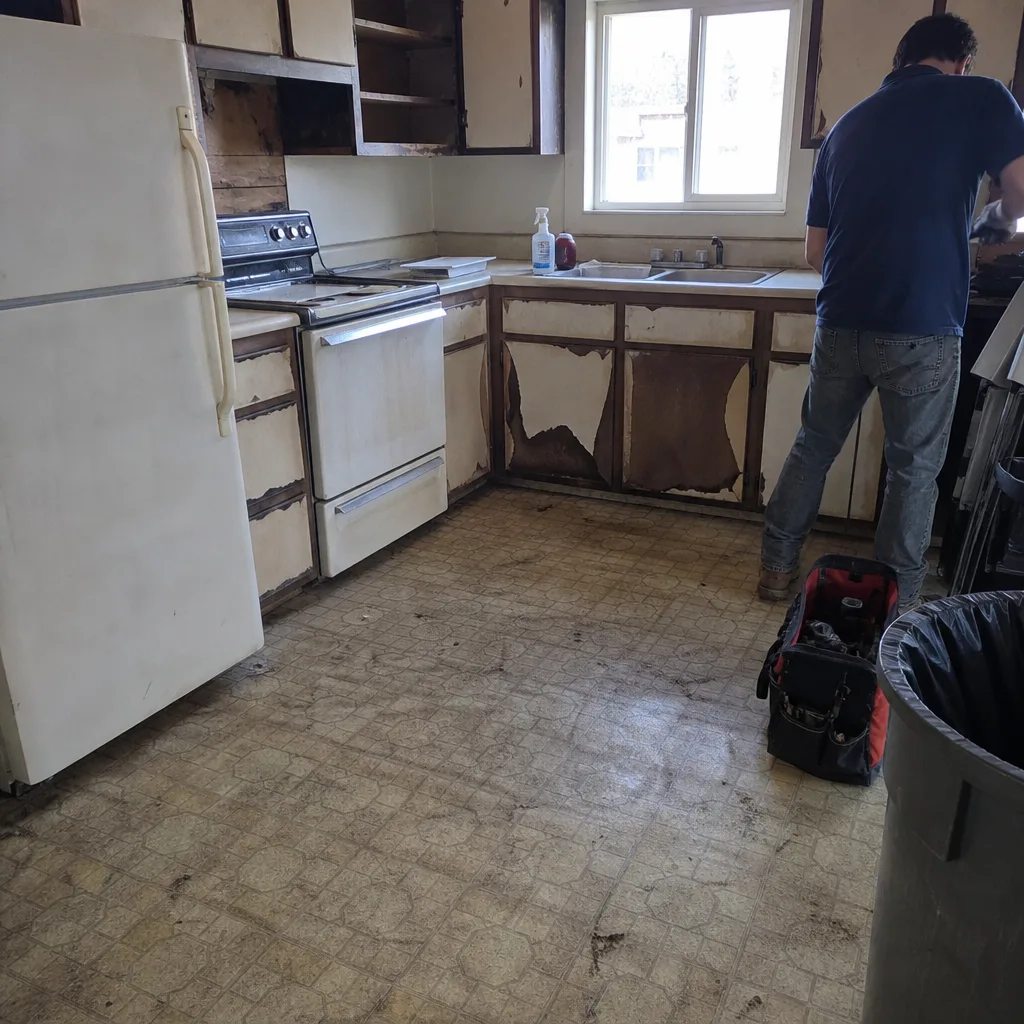 Before
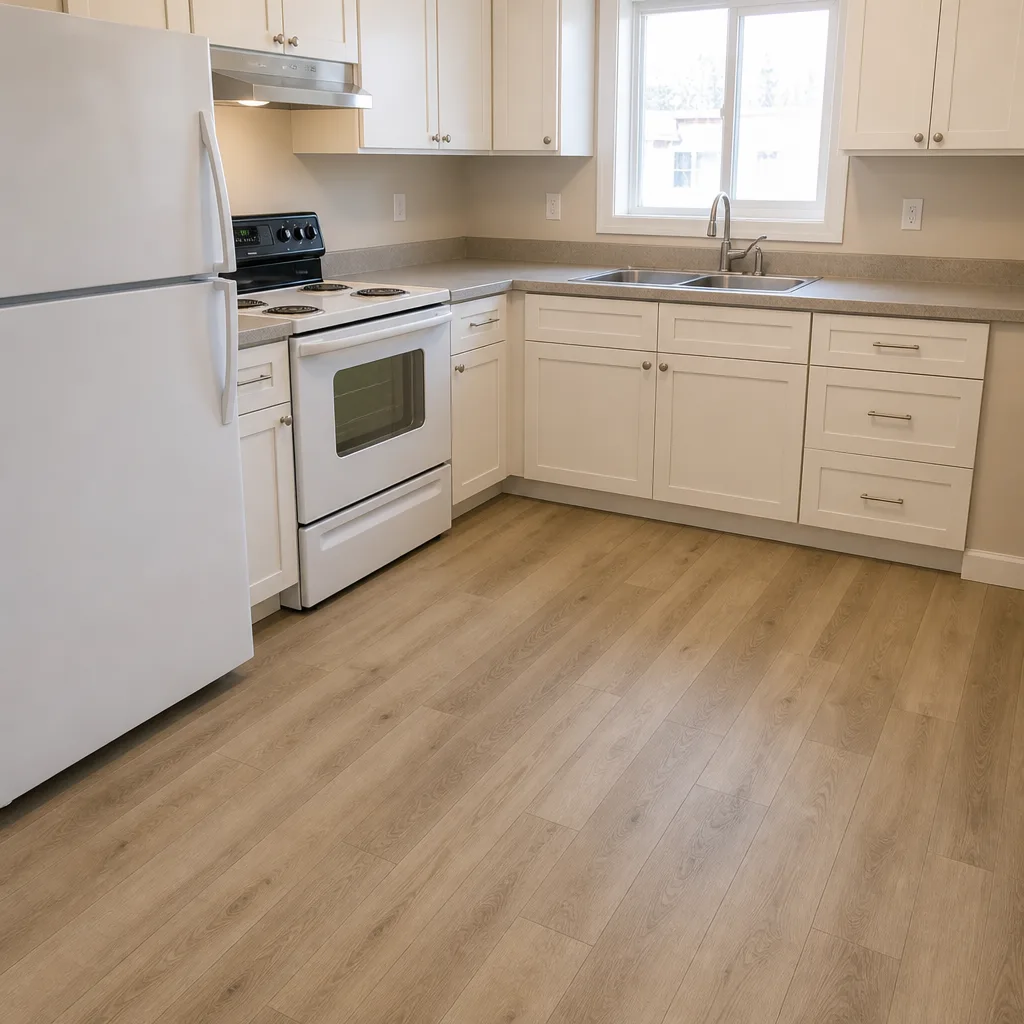 After
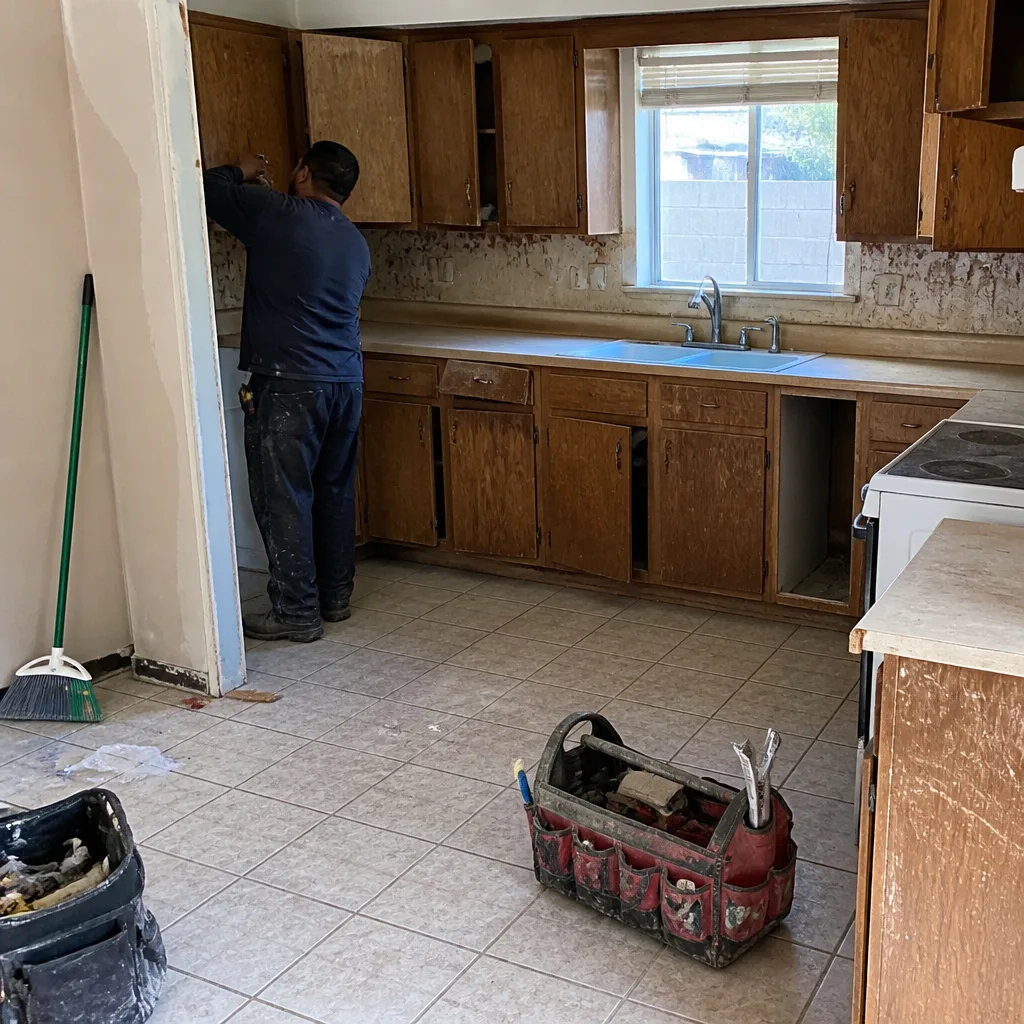 Before
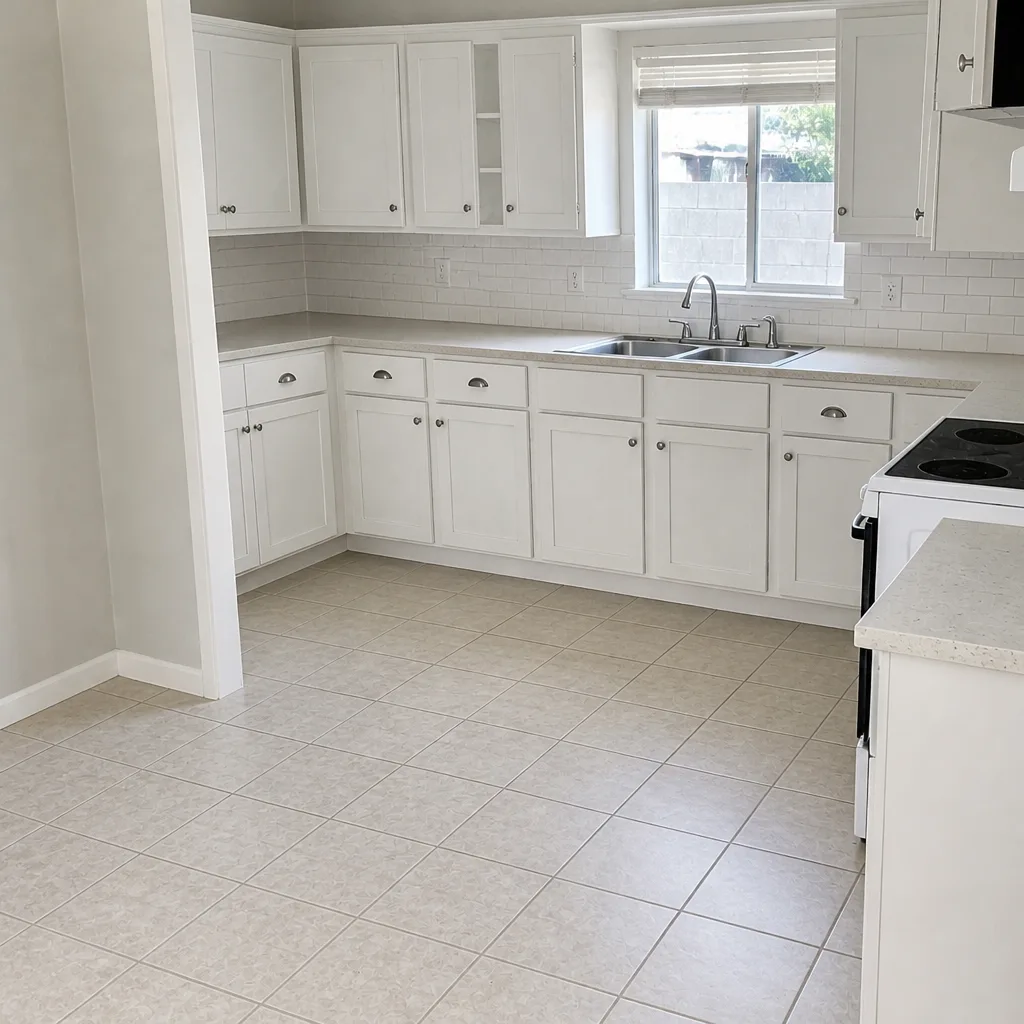 After
 Before
 After
When to Call a Professional
Some of this checklist is safe to do yourself. The freeze inspection, the dusting and hosing, the caulk-free resetting of a single popped paver if you already have matching spares. But call a professional when the joint loss is running across more than 30 percent of the driveway, when you find steps of a quarter inch or more, when efflorescence returns after a proper moisture fix, when hairline cracks are running for feet across multiple pavers, or when a section of the driveway has visibly settled after a heavy monsoon. Cutting open the base and recompacting it is not a homeowner job, and neither is chasing a drainage failure under the surface without the right tools. We’ve seen what happens when someone drives a pickup over an unrepaired base failure for a season. Barrett & Sons Construction Paradise offers free estimates in Paradise – call (855) 596-7029. We’ll walk the driveway with you and tell you straight what’s cosmetic and what isn’t.
Frequently Asked Questions
Most Paradise driveway repairs land in these ranges: re-sanding the full driveway runs $400 to $900 depending on square footage; a full clean-and-seal runs $700 to $1,800; single-paver resetting with base recompaction runs $150 to $400; and a full base repair on a failing section runs $800 to $2,500. The cheapest job on that list is not always the right one. Call (855) 596-7029 for an exact quote on your driveway – estimates are free.
The white stains are almost always efflorescence, which is calcium carbonate pushed up through the joints by moisture from the alkaline caliche layer under the driveway. It’s a drainage and sealing problem, not a cleaning problem. Scrubbing it off the surface brings it back. Fixing the moisture is what stops it. Call (855) 596-7029 to schedule a drain-and-joint inspection.
Once every two to three years is the right schedule for a Paradise paver driveway. Annual sealing traps moisture and accelerates spalling. New pavers shouldn’t be sealed in the first 60 days, and sealer should never be applied in summer heat. That said, the pre-summer seal window is short, so schedule early. Call (855) 596-7029 to get on the February-March schedule.
Re-sanding a small area (a single washout next to a step) is a fair do-it-yourself job. Re-sanding an entire driveway correctly requires the right sand formulation, dry application, and a plate compactor. Applying it wrong leaves it vulnerable to the first monsoon. If your joints are losing sand every season, that’s a sign of an underlying drainage problem. Call (855) 596-7029 for a look.
The pavers themselves rarely crack from heat. The joints do. The daily expansion and contraction cycle loosens joint sand faster than the pavers fatigue, and once the sand is gone, individual pavers can shift and the base can settle. Keep the joints full and you’re protecting the pavers. Call (855) 596-7029 if you’re seeing stepped pavers or washout on more than a couple of joints.
Slide a putty knife into the crack. If it stops at joint depth (about an eighth to a quarter inch), the crack is cosmetic. If it goes deeper than a half inch, or if the paver beside it rocks under your hand, the base under that spot has loosened. A hairline crack within one paver face is usually cosmetic. A continuous line four feet or more is a base failure. Call (855) 596-7029 and we’ll confirm on site – the estimate is free.
The Bottom Line
A Paradise paver driveway will outlast the same driveway installed almost anywhere else, if you run the right four-part schedule: seal in the pre-summer window, drainage-check during monsoon, joint-inspect in fall, freeze-check in winter. The failures we see most – spalling, returning efflorescence, base settling – almost always trace back to doing one of those steps wrong or skipping it. Get the joint sand right, match the cleaner to the stain, know which cracks matter, and don’t over-seal. That’s the whole list. If you want the four-point inspection walked through on your own driveway, we’re here. Barrett & Sons Construction Paradise – a name you can look up, a crew you’ll see again. Call (855) 596-7029 to schedule your free estimate. Take a look at our Barrett & Sons Construction Paradise home page for the trades we handle, our Fence Installation in Paradise work for the boundary of your lot, or our Home Additions & ADU in Paradise for what a driveway upgrade needs to coordinate with. If you’ve been burned by a contractor who quoted one number on the phone and handed you another at the door, ask about our Free Second Opinion on Any Written Estimate before you sign anything – or any of our other standing offers: $40 Off Any Repair Over $200, No Trip Charge Inside the County, and a permanent 10% Senior & Veteran discount.
Written by the team at Barrett & Sons Construction Paradise.