Last updated November 18, 2026







Free written scope consultation - allowances, timeline, and change-order rules on paper before a single trade is scheduled
Bathroom Remodeling Maintenance Schedule: What to Do and When
Most bathroom warranties void themselves quietly. Not because anything broke, but because a bead of caulk dried out and cracked in the desert air and nobody caught it in time. In Paradise, where indoor humidity can sit near 15 percent for weeks and summer heat pushes 105, the seals and joints in a new bathroom dry faster than any national maintenance checklist assumes. This guide gives you a plain calendar of what to check at Month 1, Month 6, and Year 1, what to tighten, and what to leave alone so the money you put into your Paradise bathroom holds up.
Quick Answer
Check your bathroom at three points: Month 1 (re-caulk the tub and shower, tighten vanity hardware, confirm the exhaust fan), Month 6 (inspect grout lines, reseal natural stone, test shutoff valves), and Year 1 (deep clean the fan, seal grout, review everything against your contract). In Paradise’s dry climate, caulk and grout need attention sooner than the national guides say, and a simple written log of what you checked and when protects both your warranty and your resale value.
Styles & brands we work with
- Kitchen remodeling
- Bathroom remodeling
- Home additions & ADU
- Roofing
- Windows & doors
- Driveway & pavers
- Fence
Table of Contents
- Why Paradise’s Dry Air Changes the Schedule
- The Month-1 Checklist
- The Month-6 Checklist
- The Year-1 Checklist
- How to Spot Grout and Caulk Failure Before Water Gets In
- What Preserves Your Warranty and What Voids It
- The Owner’s Log Sheet That Adds Resale Value
Why Paradise’s Dry Air Changes the Schedule
National maintenance guides are written for humid climates where caulk stays soft and grout holds moisture. That’s not Paradise. Our low humidity pulls moisture out of silicone and latex caulk within months, and the material shrinks and cracks at the seams first. The same dry air pulls moisture from grout, which makes it more porous and more likely to crumble at the corners of a shower floor. This is the opposite of the damp-climate problem where grout stays wet and grows mold.
There’s a second factor: temperature swing. A Paradise bathroom near a west-facing wall can hit 90 degrees by afternoon and drop into the 60s overnight in spring and fall. That expansion and contraction works on every joint in the room, from the caulk around the tub to the seal behind the vanity backsplash. In our experience, the caulk line at the tub deck is the first thing to fail, usually between month four and month eight.
None of this means your remodel was done poorly. It means the seasons here ask more of the seals than they would in a coastal city. Build the checks into your calendar and the bathroom stays tight.
What this means for your schedule
- Caulk joints need inspection every 90 days, not once a year.
- Grout sealing on natural stone and cement grout belongs on a 12-month cycle, tighter if the shower runs daily.
- Exhaust fan cleaning matters more than people think – dry air plus dust means the fan works harder to move the same volume.
The Month-1 Checklist
The first month is when your new bathroom settles. Materials expand into their space, the house adjusts to new weight and moisture loads, and anything installed slightly loose will show itself. This is also the window when a Barrett & Sons Construction Paradise job is still covered by the 90-Day Done Right Promise, so if something looks off, call while it’s fresh. One call brings us back to make it right.
- Re-caulk the tub and shower perimeter. Even a careful install can open a hairline crack as the tub settles. Scrape the old bead, clean with denatured alcohol, and lay a fresh bead of 100% silicone. Don’t use painter’s caulk here.
- Check the vanity hardware. Open and close every drawer and door a dozen times. Tighten any screw that moves. Cabinet pulls on KraftMaid or similar cabinetry should be snug but not overtightened – you can crack the finish.
- Test the exhaust fan. Hold a tissue to the grille. If it doesn’t stick, the fan isn’t pulling. Check the duct flap at the roof or wall cap.
- Run every shutoff valve. Under the sink and behind the toilet. Turn each one off and on once. Valves that sit unused for months seize up.
- Look at the toilet base. A wobble means a loose closet bolt or a failing wax ring. Have it checked before it leaks into the subfloor.
- Check the shower door sweep. If water beads outside the door frame after a shower, the sweep is misaligned or the door needs adjustment.
- Confirm the grout lines. Run a finger along the shower floor. Gritty or hollow-sounding spots are early signs of a weak mix.
The Month-6 Checklist
By month six, the desert air has done its work on the caulk joints. This is the check most homeowners skip and the one that saves the most money. If you catch a failing caulk line now, you spend twenty minutes and a tube of silicone. If you don’t, water finds its way behind the tile and you’re looking at a repair that runs into the thousands.
- Inspect every caulk joint with a flashlight. Look for cracks, gaps, or a bead that’s pulled away from the wall. The tub deck, shower corners, and backsplash edges are the usual suspects.
- Reseal natural stone. If you chose marble, travertine, or another porous stone for the vanity or shower, apply a penetrating sealer. Water should bead on the surface, not soak in.
- Deep clean the grout. Use a soft brush and a pH-neutral cleaner. Skip the bleach and the vinegar – both break down cement grout faster in dry climates.
- Test the GFCI outlet. Press the test button at the vanity outlet. It should trip and reset. If it doesn’t, have an electrician look at it.
- Check the toilet tank for slow leaks. Put a few drops of food coloring in the tank. If color shows in the bowl without flushing, the flapper needs replacing.
- Wipe down the exhaust fan grille. A clogged grille cuts airflow by half and lets moisture build in a room that should stay dry.
Log everything you find. That log becomes your defense if a warranty question comes up later, and a prospective buyer will read it with more trust than any verbal claim. If you’re already planning a larger project, our team handles Barrett & Sons Construction Paradise home work across the county and can fold a schedule like this into a full remodel plan.
The Year-1 Checklist
The Year-1 check is the one that sets the tone for the next decade. It’s a deeper pass than the first six months and it’s the right time to reset anything that’s showing wear. If you had us pull permits and pass inspection on your remodel, the paper trail is on file – the Year-1 review closes the loop on the whole project.
- Re-caulk every joint in the room. Even if it looks fine, replace the tub, shower, and backsplash beads. Silicone in a dry climate rarely lasts past 18 months.
- Re-seal all stone and grout. Cement grout in a daily-use shower should be sealed annually. Porous stone may need it twice a year.
- Pull the exhaust fan and clean the blades and housing. Dust builds on the blades and unbalances the motor. Vacuum it and check that the duct is still connected.
- Inspect under the sink and behind the toilet. Look for staining on the cabinet base, water marks on the subfloor, or a bulging supply line. Replace any hose that feels soft.
- Test the shower pan for movement. Stand on the shower floor and shift your weight. Flex underfoot means a soft spot in the subfloor or a failing mud bed. Call a pro.
- Check the toilet seals. The wax ring and the supply line are cheap parts. Replace them on the Year-1 mark whether or not they’re leaking.
- Wipe down the vanity cabinet interior. Check for moisture under the sink. A slow drip will warp a particleboard cabinet long before it shows on the ceiling below.
How to Spot Grout and Caulk Failure Before Water Gets In
Water damage behind tile almost always starts small. It starts with a caulk line that’s cracked, then a grout line that’s opened, then a thin film of moisture behind the tile that slowly works into the backer. By the time you see a soft spot or a stain on the ceiling below, the fix is no longer a tube of sealant.
Signs you can spot in two minutes
- A caulk bead that pulls away from the wall. Press a fingernail into the bead. If it feels stiff and cracks, replace it.
- Grout that crumbles when scratched. A firm thumb rub should not pull powder off the line.
- Dark spots on grout that don’t come off with cleaner. That’s moisture wicking under the surface.
- Loose or hollow-sounding tile. Tap a tile with the back of a screwdriver. A hollow sound means the thinset has failed.
- A musty smell in a room that should be dry. Good airflow and a working fan should keep the room neutral.
If you’re seeing more than one sign, stop re-sealing and have it inspected. Covering a failed joint with new caulk traps the moisture underneath and makes the eventual repair bigger. In Paradise we see this pattern most often in bathrooms that face south, where the afternoon sun heats the exterior wall and drives more expansion into the tile assembly than a north-facing room ever sees.
What Preserves Your Warranty and What Voids It
A bathroom warranty covers defects in installation and materials. It doesn’t cover the room that got away from you. The line between a covered repair and a customer-pay repair usually comes down to whether you documented regular maintenance and whether you used the right products.
Preserves the warranty
- Using 100% silicone caulk on tub and shower joints, not painter’s caulk or “kitchen and bath” acrylic.
- Resealing stone and grout on schedule with a penetrating sealer that matches the material.
- Replacing failed sealant or a leaking supply line within a reasonable window after you notice it.
- Keeping a written log of what you checked, when, and what you replaced.
- Calling the original contractor first if a structural issue shows up – that’s the point of the Home Additions & ADU in Paradise standard we build to on every job, small or large.
Voids the warranty
- Using bleach, vinegar, or harsh acids on cement grout. These break down the grout binder.
- Applying epoxy coating or paint over failing grout lines instead of addressing the crack.
- Cutting into a shower pan or drilling through waterproofing to install a new fixture without calling the installer.
- Doing your own electrical work on a GFCI or exhaust fan circuit without a permit.
- Ignoring a leak until the subfloor rots, then asking for warranty coverage on the resulting damage.
This is why we put every scope, every allowance, and every price change in writing before work begins. An allowance that isn’t on paper is a surprise waiting for a date, and a warranty that isn’t documented is a debate waiting to happen. If your bathroom was done by another contractor and you want a second opinion, our free estimate on any written estimate is a good place to start.
The Owner’s Log Sheet That Adds Resale Value
You don’t need a software subscription to track bathroom maintenance. A single page taped inside the vanity cabinet or in the kitchen junk drawer works. What matters is that the record is specific, dated, and readable by someone else. When you sell your Paradise home, that log answers a buyer’s question before they ask it: has this bathroom been cared for?
A simple page layout
- Date – the day you did the check.
- Area – caulk, grout, fan, plumbing, cabinet.
- Finding – cracked caulk at tub deck, GFCI test passed, toilet flapper replaced.
- Action – what you did or who you called.
- Product or brand – the caulk, sealer, or part you used. Useful if you need to buy it again.
- Receipt copy – tape it inside the cabinet door or scan it to a folder.
Keep the log with your remodel paperwork. The written change orders, the inspection sign-offs, and the 90-Day Done Right Promise letter all belong in the same folder. A buyer walking through your Paradise house will trust a well-documented bathroom more than a freshly painted one with no history. And if you ever need to make an insurance claim on water damage, that log is often the difference between a covered repair and a denied one.
If you’re considering a broader update to the exterior too – landscaping, hardscape, fencing – our team also handles Driveway & Pavers in Paradise and Fence Installation in Paradise, so the maintenance calendar and the project scope can be planned together. Quality fence work from brands like Ameristar or Master Halco follows the same principle: it lasts when you check the joints and the set posts on schedule.
Common Mistakes to Avoid
- Using the wrong caulk. Acrylic “kitchen and bath” caulk looks clean off the shelf and dries out in a Paradise bathroom within months. Use 100% silicone at the tub and shower.
- Caulking over a failing joint instead of replacing it. New caulk on top of cracked caulk traps moisture behind the wall and turns a twenty-minute fix into a tile repair.
- Cleaning grout with vinegar or bleach. Both break down cement grout, and in a low-humidity climate the damage happens faster. A pH-neutral cleaner and a soft brush do the job.
- Skipping the exhaust fan. A dusty grille and a disconnected duct mean moisture has nowhere to go. Even in dry air, a daily shower adds a load the fan was meant to clear.
- Not testing shutoff valves. Valves that sit unused seize up and fail the day you need them most – usually at the end of the one-weekend window you had to fix the sink.
- Drilling into the shower pan or waterproofing. Every penetration is a leak waiting to happen. Call a pro before installing a grab bar or frame in the shower.
- Throwing out the paperwork. The written change orders, the original estimate, the inspection sign-offs, and your maintenance log belong in one folder. Buyers and insurers will ask for them.
See the difference
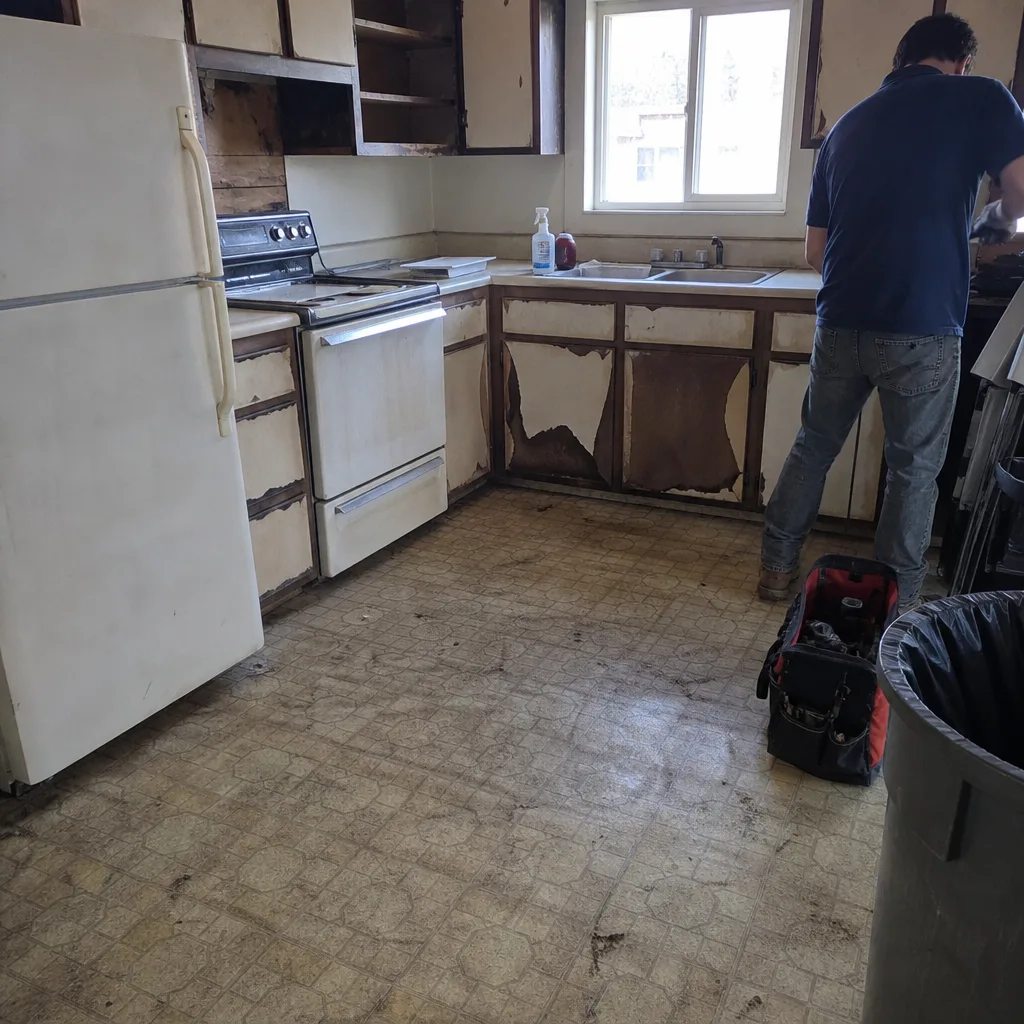 Before
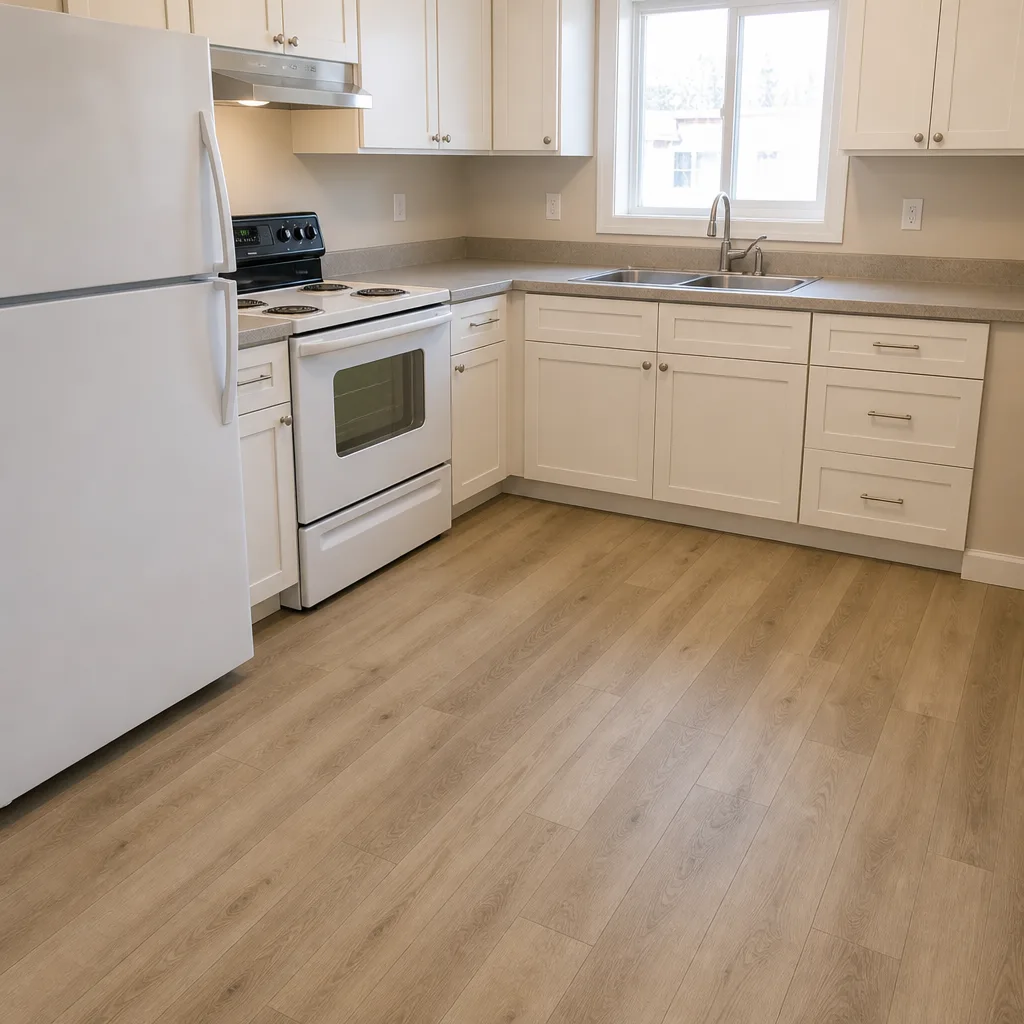 After
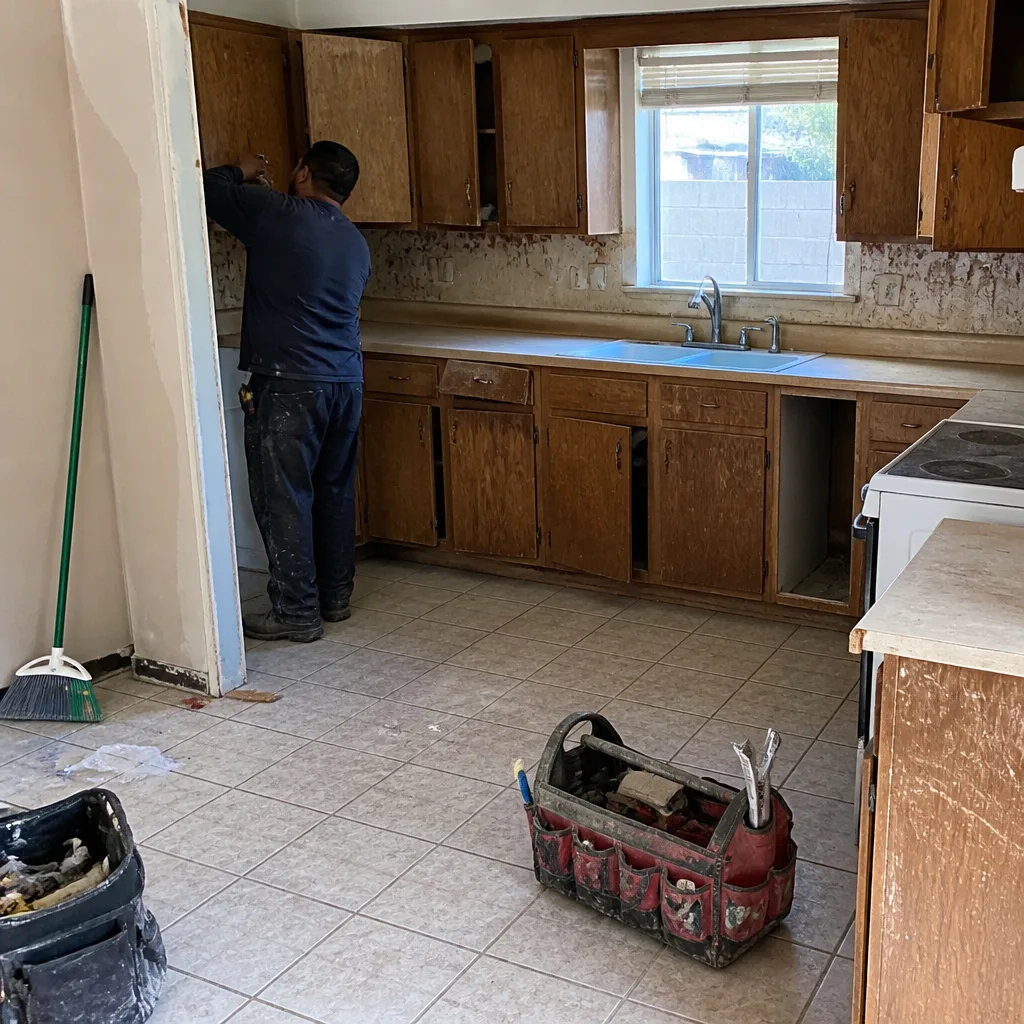 Before
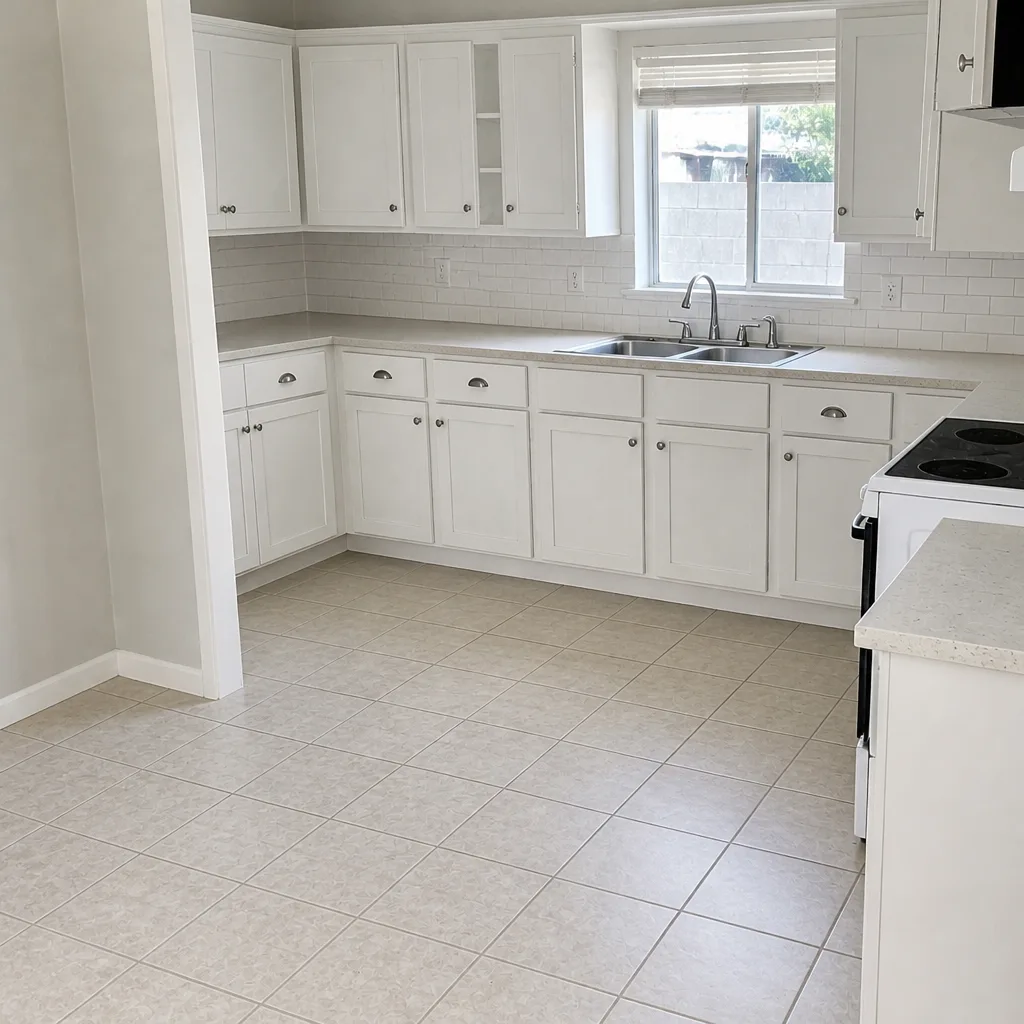 After
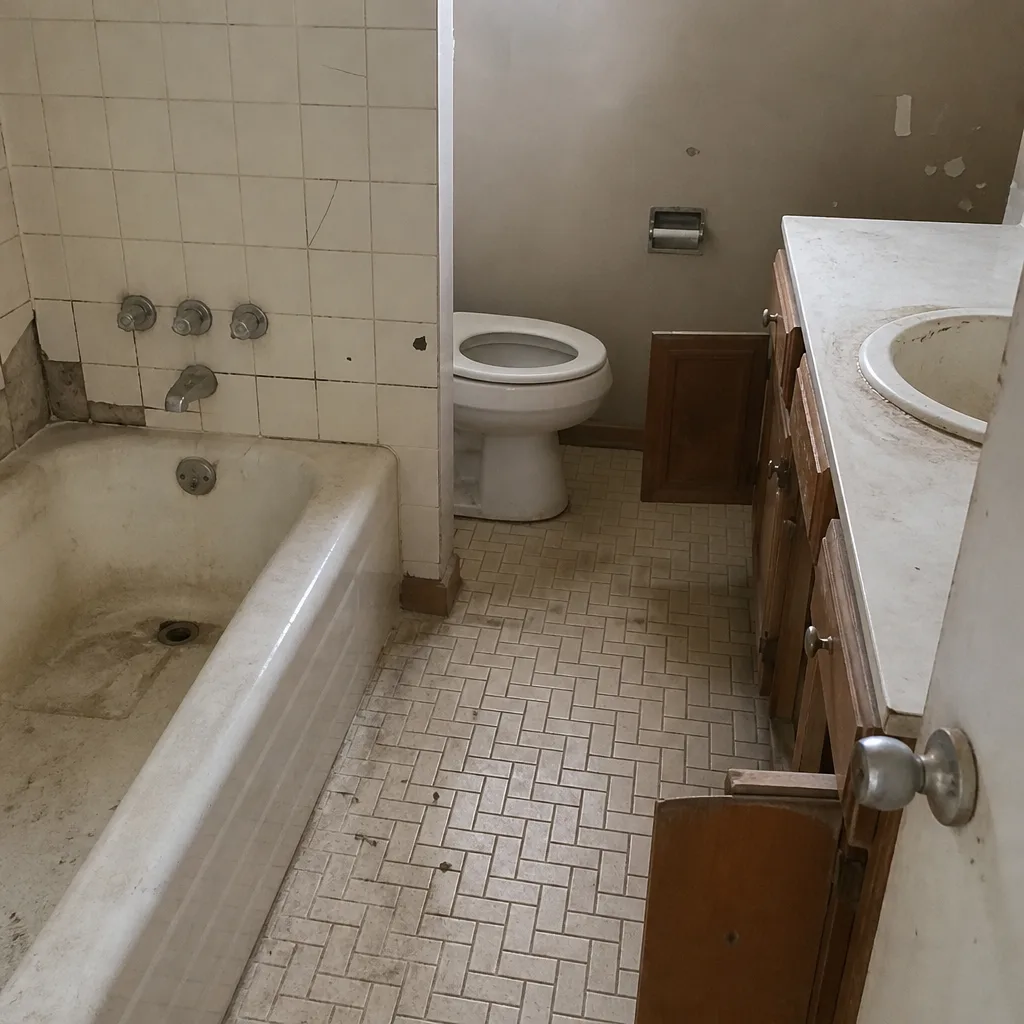 Before
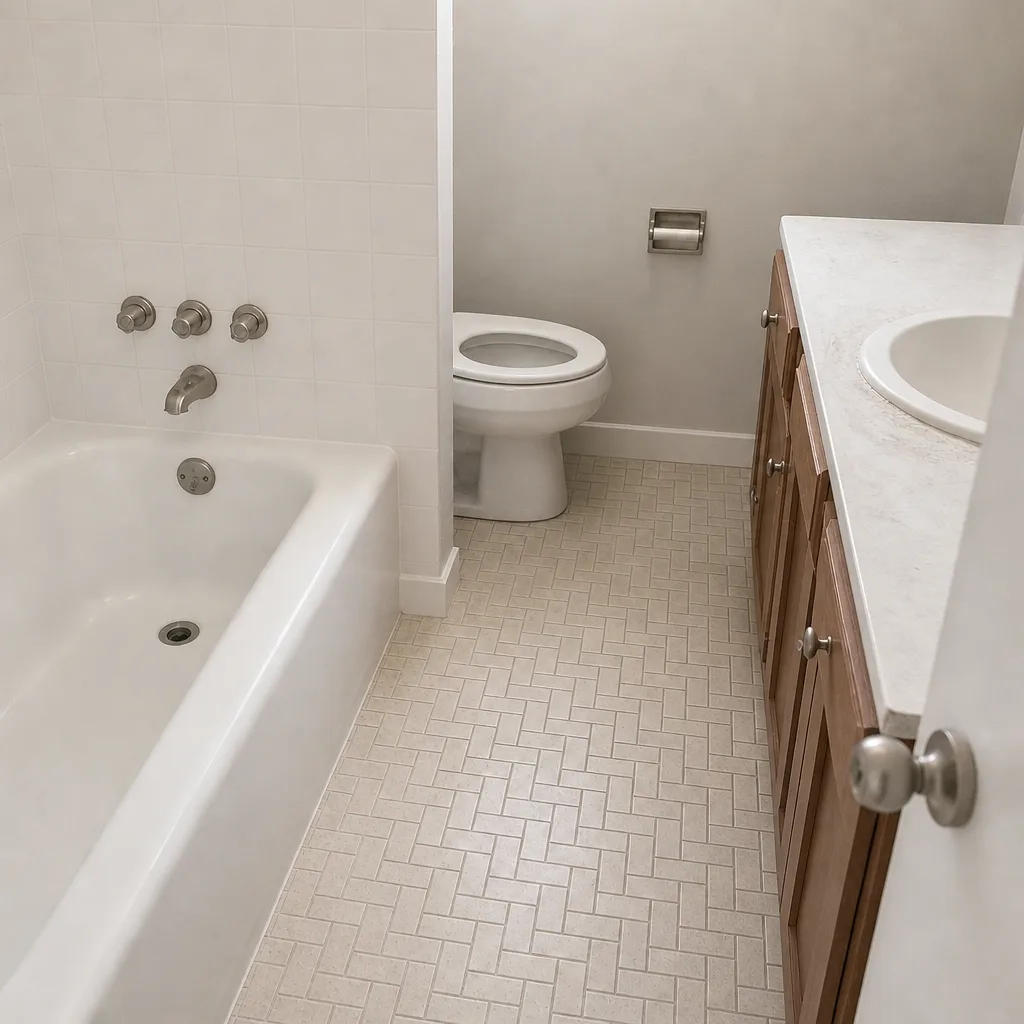 After
When to Call a Professional
Most of this calendar is homeowner work. A handful of situations need a pro, and waiting makes them cost more. Call us if you find hollow-sounding tile, a soft spot in the shower floor, a toilet that moves when you sit on it, water stains on the ceiling below the bathroom, or a GFCI that won’t reset. Also call if you’re seeing repeated caulk failures in the same spot – that usually means the joint is moving and needs a different fix than new sealant. Anything that involves opening a wall, drilling through waterproofing, or touching the electrical circuit behind the vanity is a pro job. In Paradise, we’ve seen how quickly a slow leak turns into a subfloor replacement, so treat these as same-week calls, not wait-and-see items.
Barrett & Sons Construction Paradise offers free estimates in Paradise – call (855) 596-7029. We’ll look at the issue, tell you whether it’s a maintenance item or a repair, and put any price change in writing before work starts. Crew members are background-checked, the permit gets pulled if one is needed, and the 90-Day Done Right Promise is written on the contract.
Frequently Asked Questions
Plan on every 12 to 18 months for a full re-caulk, with a visual inspection of every joint every 90 days. Paradise’s low humidity dries out silicone and latex caulk faster than humid climates do, so the bead at the tub deck and shower corners often shows cracks by month eight. Call (855) 596-7029 if you want a pro to handle it.
Yes, and the mechanics are the opposite of what national guides assume. Dry air pulls moisture from caulk and grout, which makes them shrink and crack rather than stay damp and grow mold. The result is that Paradise bathrooms need more frequent caulk replacement and annual grout sealing, but less mold remediation.
Only if it’s done wrong. Using the correct silicone, skipping harsh cleaners, and documenting what you replaced all preserve the warranty. Painting over failing grout, using bleach on cement grout, or drilling through waterproofing without calling the installer are the moves that void it. Our 90-Day Done Right Promise covers the original installation, not damage from skipped maintenance.
Three quick checks: rub the grout with your thumb (it shouldn’t crumble), tap the tile with a screwdriver handle (it shouldn’t sound hollow), and look for dark spots that don’t come off with cleaner. Any of those means water is already getting under the surface. Call (855) 596-7029 for an inspection before the repair gets bigger.
A caulk or fixture repair doesn’t need a permit. A shower pan replacement, tile tear-out, or anything that opens the waterproofing usually does. Barrett & Sons Construction Paradise pulls permits and passes inspections on every eligible job – the permit inspector works for you, and getting the sign-off protects your resale.
A one-page log with dates, areas, findings, and products used, plus copies of your original estimate, written change orders, and inspection sign-offs. When a buyer asks about the bathroom, that folder answers the question faster than any conversation. Call (855) 596-7029 if you’d like us to review what you have.
The Bottom Line
Your Paradise bathroom won’t fail because you picked the wrong tile. It fails when a caulk joint dries out, cracks, and goes unnoticed for a year. Check at Month 1, Month 6, and Year 1. Re-caulk with 100% silicone, reseal grout and stone on schedule, clean the exhaust fan, and log everything you do. That’s the whole system. If you’d rather have a pro look at it – or you’re ready to plan a remodel that starts with the calendar in mind – call Barrett & Sons Construction Paradise at (855) 596-7029 for a free estimate. Written scope, written change orders, permits pulled, and the 90-Day Done Right Promise on every contract.
Written by the team at Barrett & Sons Construction Paradise.