Last updated November 18, 2026




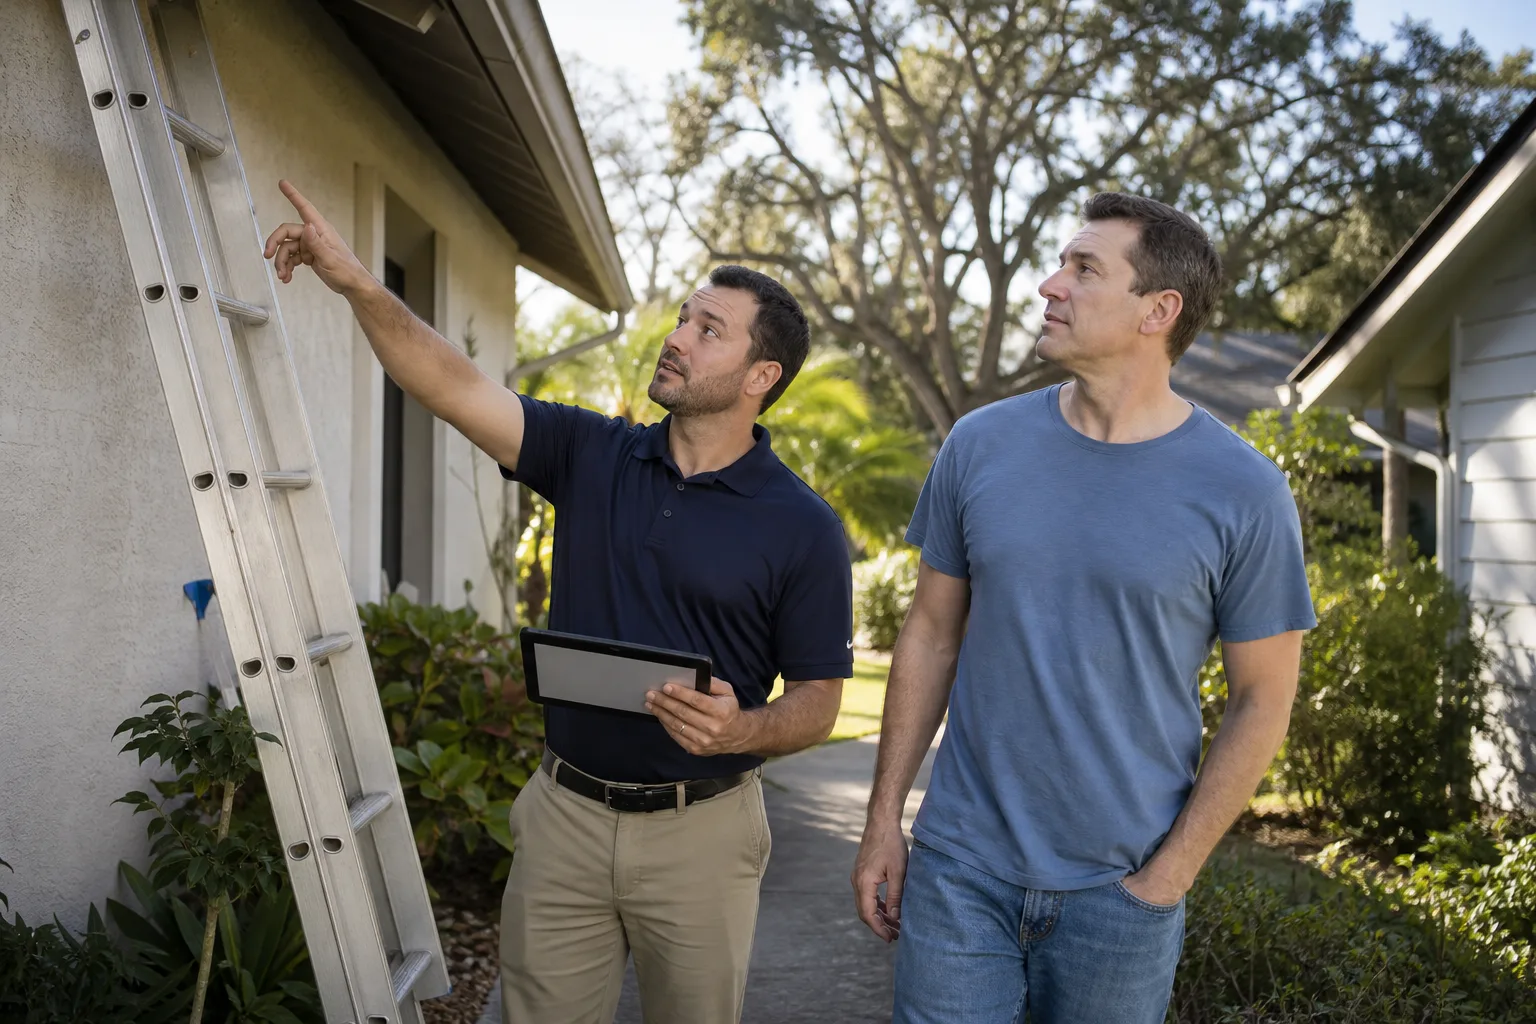
Free written scope consultation - allowances, timeline, and change-order rules on paper before a single trade is scheduled
Driveway & Pavers Warning Signs Every Homeowner Should Know
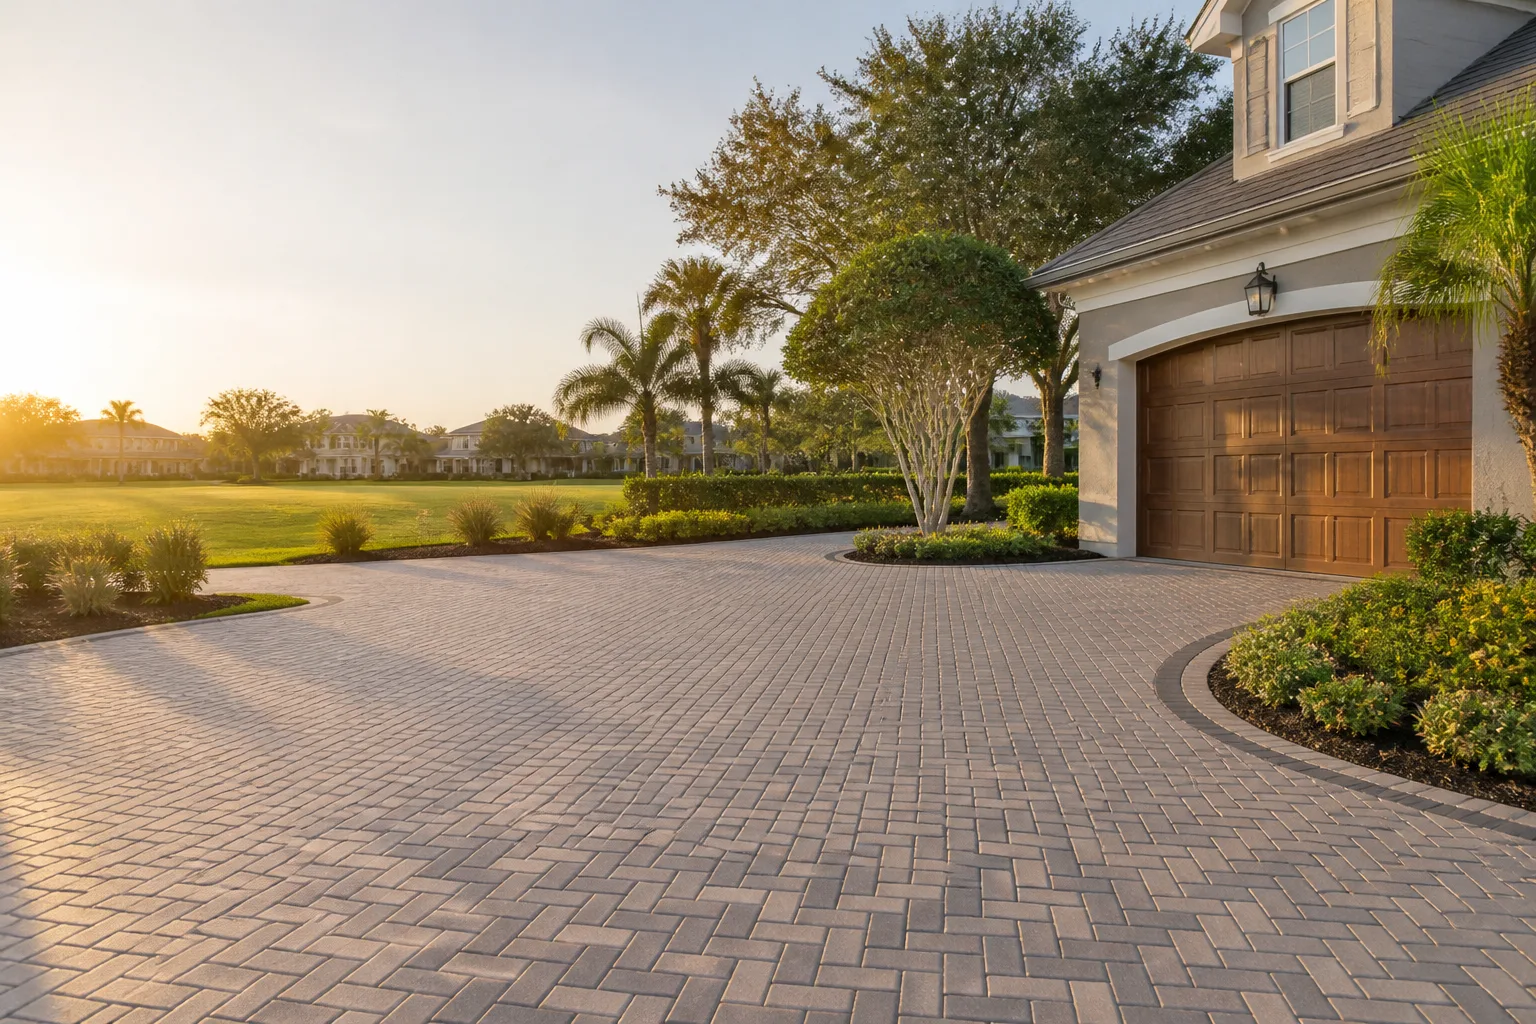
A single rocking paver isn’t cosmetic. It’s a pressure valve telling you the base beneath it is moving, and every car that rolls over it widens the problem. Most paver driveways give you a six-to-twelve-month warning window before a small repair turns into a full replacement – and almost nobody reads the signs because they look like normal wear. In Paradise, where summer ground temperatures swing hard between day and night and our clay-heavy soils move with every wet winter, those signals come faster than most homeowners expect. This guide shows you what to look for, how to test your own driveway in ten minutes, and how to tell a $400 spot repair from a $6,000 replacement before you sign anything.
Quick Answer
The earliest warning signs of paver driveway trouble are a single rocking or loose paver, sand washing out of the joints, and a slight dip along the driveway edge. These mean the base layer has started to shift. Catching them within the first few months keeps the fix small – re-sanding, re-setting a handful of units, and correcting drainage. Ignoring them lets water into the base, and that’s when a cheap repair becomes a full tear-out.
Styles & brands we work with
- Kitchen remodeling
- Bathroom remodeling
- Home additions & ADU
- Roofing
- Windows & doors
- Driveway & pavers
- Fence
Table of Contents
- Normal Settling vs. Structural Base Failure
- The 10-Minute Homeowner Test
- Edge Creep: The Warning Almost Everyone Misses
- Drainage Red Flags That Predict Your Next Sunken Section
- Efflorescence: The White Haze That Signals Water
- Spot Repair vs. Full Replacement: How to Tell the Difference
- What Paradise Conditions Do to Pavers
- How Long Each Repair Actually Takes
Normal Settling vs. Structural Base Failure
Every paver driveway settles a little. A brand-new installation in Paradise will often drop a fraction of an inch over its first winter as the soil beneath compacts under traffic. That’s normal, and it’s the reason quality installers compact the base in lifts before laying the units. The difference is in what settles and how much.
Cosmetic settling shows up as a uniform, shallow dip across a wide area – maybe a quarter-inch over a two-foot span – with every paver still tight against its neighbor. You can walk the whole surface and feel nothing move. The joints stay filled. Water still runs off the way it should. This is the kind of settling that only needs attention if it holds water.
Structural base failure looks different. You’ll see one of these:
- A localized dip where a single paver or a small cluster drops noticeably while the pavers around it stay put.
- An audible click or rock when you step on one unit – the paver has broken contact with the bedding sand.
- Joint sand disappearing in a concentrated area, not evenly across the field.
- A crack or step running along a line, following the base compaction seam or an old utility trench.
The pattern matters. Localized movement means the base failed underneath that specific spot. Uniform movement means the whole subgrade is working the way it should. If you’re not sure which you’re looking at, our crew can walk it with you and tell you straight – that’s part of what we do on Driveway & Pavers in Paradise estimates.
The 10-Minute Homeowner Test
You don’t need tools or a contractor to figure out whether your driveway is in the warning window. Here’s how to check it yourself, in order:
- Walk the full surface in a grid. Start at the street and walk slow lanes to the garage, crossing back and forth. Listen for clicks and feel for give underfoot.
- Rock the suspicious paver with your foot. Place your weight on one edge, then the other. If it moves at all, the base underneath has lost contact.
- Press the joint sand with a screwdriver handle. Filled joints resist. Hollow or missing sand under the joint means water has been washing through.
- Pour a cup of water at three points. One near the garage, one mid-driveway, one near the street. Watch where it goes. Standing water more than five minutes old means the slope or drainage is off.
- Look at the edges. Get your eye down at ground level along the driveway perimeter. Any gap between the paver edge and the soil, gravel, or restraint means lateral movement is underway.
- Scan for white haze or green tint. Chalky white film (efflorescence) or moss in the joints points to moisture moving through the base.
If you find one or two items you’re unsure about, that’s normal. Three or more that show up together, on the same section of driveway, means you should get eyes on it before the next rainy season. In Paradise, water arrives fast when it comes and the ground doesn’t drain like it does in drier parts of Clark County.
Edge Creep: The Warning Almost Everyone Misses
Edge creep is the slow lateral movement of your paver field toward the street, the yard, or wherever the edge restraint is weakest. It almost always starts at the same place: the transition between the driveway and the surrounding grade. The paver field pushes outward, the joints between units widen by a hair, and the pattern starts to look slightly off before anything visibly breaks.
What to check, specifically:
- The perimeter gap. There should be a snug line of edge restraint – usually a rigid plastic or metal lip set in concrete – holding the field in place. If the paver edge is resting against loose soil or gravel, that field will creep.
- The pattern seam. Bricks set in a herringbone or running bond should stay aligned. When the pattern starts to widen or shift at the edge, the field is expanding outward.
- The first row. The outermost row of pavers takes the hit first. If those units are loose or tilted slightly, they’re dragging the row behind them.
Edge creep is best caught when the lateral movement is a half-inch or less. At that stage, re-pinning the edge restraint is a same-day repair. Once the movement reaches two or three inches, the pattern has pulled enough to require resetting the field along that edge – and possibly removing and relaying whole sections. We see this often in neighborhoods around Barrett & Sons Construction Paradise home, where older installs met newer grading and the edge restraint didn’t account for soil movement over the first few winters.
Drainage Red Flags That Predict Your Next Sunken Section
Standing water on a paver driveway isn’t just a nuisance – it’s a forecast. Every gap, dip, or low spot that traps water is also a low spot where water will soak into the base and work the sand out from below. In Paradise, we see the same pattern repeat: a puddle forms in a small dip near the garage door, and six to twelve months later that spot is a visible sinkhole.
Where to look for water problems:
- Under the garage door apron. Water pooling where the driveway meets the garage. This is the single most common starting point for sunken pavers near the house.
- At the street transition. The point where the driveway meets the curb or gutter. If water pools here instead of running into the street, the slope has settled below acceptable.
- Along the sides of the driveway. Water draining from the yard or a neighboring property can erode the base from below over a season or two.
- Anywhere with an old utility trench. Trench backfill settles differently than virgin soil. Plumbers, cable installers, and irrigation lines all leave seams that water finds first.
Check your driveway after a heavy rain. Photograph where the puddles form. If the same spots show up after the next rain, you’ve identified where the base is failing before the pavers start to show it. That’s the best timing you’ll get for a repair.
Efflorescence: The White Haze That Signals Water
Efflorescence is the chalky white haze that appears on paver surfaces, especially in shaded areas or where water sits. It’s salt from the paver and the mortar beneath being carried to the surface by water migrating through the paver and evaporating on top. A light haze on a new install is normal. Heavy, persistent, or recurring efflorescence is a moisture alarm.
What it’s telling you:
- Water is getting under the paver. Between the paver and the bedding sand, or between the bedding sand and the base layer, moisture is present in a way that shouldn’t be recurring.
- The drainage is inadequate. Somewhere near that spot, water is pooling instead of draining away.
- The base may be saturated. If the efflorescence keeps coming back after a cleaning, the base isn’t drying out. That means the base has lost compaction or isn’t draining.
A one-time wipe-down with a mild acid cleaner neutralizes the bloom. Persistent efflorescence on the same section of driveway points to a base repair issue, not a surface problem. That white haze is the cheapest diagnostic you’ll get: catch it while it’s cosmetic and you’ll never see the sunken section that would have followed.
Spot Repair vs. Full Replacement: How to Tell the Difference
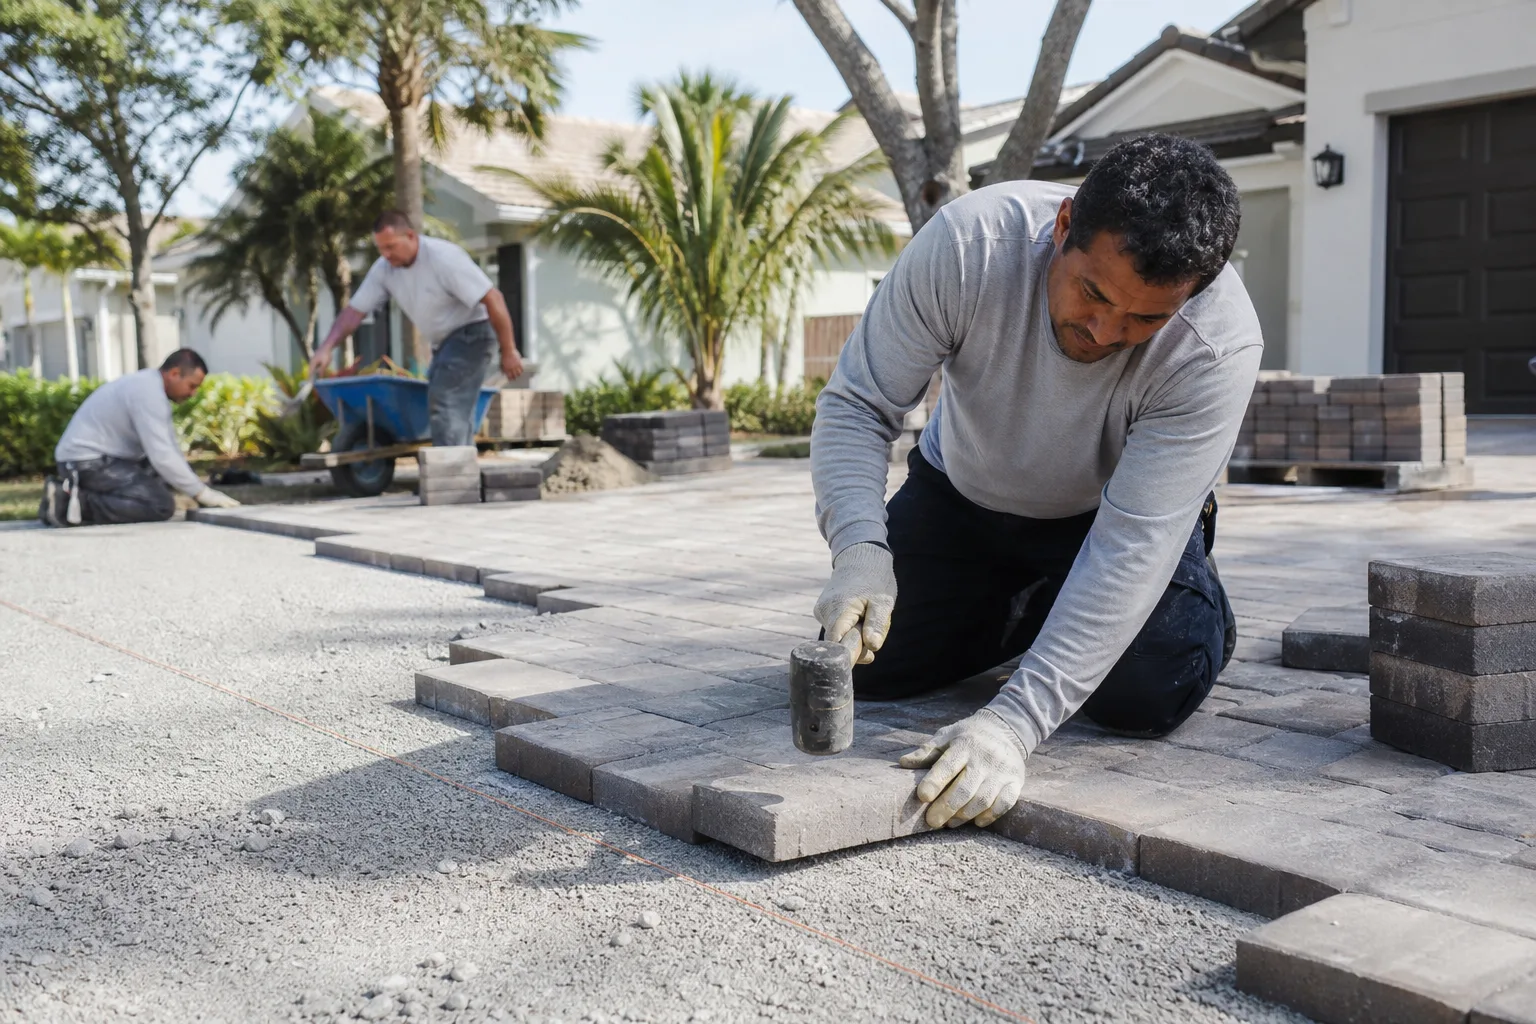
This is where contractors go two directions and homeowners get caught. A spot repair is the right answer when the failure is isolated – usually fewer than ten pavers, the base beneath them can be re-compacted and re-bedded, and the surrounding field is stable. A full replacement is the right answer when:
- Multiple failure zones exist in different parts of the driveway (edges, garage apron, street transition).
- The base layer has failed across a large section – typically more than 20 percent of the surface area.
- The original installation skipped a compaction step or used insufficient base depth. Repairing the pavers without fixing the base is throwing money at a symptom.
- The pavers are outdated or unable to be matched. Sometimes a partial replacement is visible from the street, which hurts resale value.
How to tell the difference when a contractor quotes you:
- Ask for the base repair detail in writing. A real spot repair quote lists what’s being cut out, how deep, and what base material is going back in. A quote that just says “reset pavers” is incomplete.
- Ask how many pavers will match your existing pattern and color. If the answer is vague, expect an obvious patch.
- Ask what caused the failure and what’s changing to prevent it. A good contractor will name the drainage issue, the edge restraint, the compaction, or the old utility trench. A contractor selling you a full replacement without naming the cause is upselling.
- Ask for a second opinion. Genuine replacement recommendations survive a second look. If a quote for full replacement comes without a base cause, get another opinion before you sign. We offer a free second opinion on any written estimate because it’s the fastest way to sort a fair price from a padded one.
The plain truth: a driveway that fails in three places at once with a nine-year-old install and no drainage correction on the horizon likely needs replacement. A driveway that fails in one spot after five solid years usually just needs that spot fixed right.
What Paradise Conditions Do to Pavers
Paradise is not a mild climate for pavers. Three things make our driveway failures show up faster than a homeowner in a wetter or cooler climate would experience:
- Clay-heavy soil. Much of the soil in Paradise and the surrounding county expands when wet and shrinks when dry. That cycle works against the base compaction over time, which is why edge creep and localized dips are common here.
- High summer ground temperatures. The surface of a paver driveway in Paradise can reach temperatures well above ambient. That heat cycling stresses joints and is why sand loss in the joints is more aggressive here than in cooler climates.
- Concentrated winter rain. Paradise gets rain in bursts, not drizzle. Water arrives faster than the drainage can handle, and it goes straight into the same low spots that were forming all summer.
If you’re planning pavers for a new driveway or patio, this is why base depth and drainage grading matter more than the surface look. We install Belgard and Techo-Bloc pavers because both brands hold up to the local heat cycling and moisture swings, and we don’t skip the base prep. That’s the same standard we bring to fence installation in Paradise – the buried part is what determines whether the visible part survives.
If you’re thinking about a driveway expansion or a new detached garage or ADU on the same lot, the driveway and the drainage plan need to be designed together. That’s a conversation we have constantly on home additions and ADU in Paradise projects – siting the structure after the drainage is right, not before.
How Long Each Repair Actually Takes
Timelines depend on scope, but here’s the honest range from typical Paradise jobs:
- Re-sanding joints only: a few hours. This is maintenance, not repair, and it’s the cheapest step you can take.
- Spot repair of 1-10 pavers with base correction: half a day. Cut out, re-compact base, re-bed, re-set, re-sand.
- Edge restraint re-pinning along one edge: one day for a typical residential driveway edge.
- Sectional repair covering more than 20 percent of the driveway: several days, with a small paver and material order ahead of the work.
- Full replacement: one to two weeks depending on square footage, pattern complexity, and weather.
Two things we insist on for every repair job: permits pulled where the scope requires it (particularly where the work reaches the curb or public right-of-way), and a written change order before any scope change touches the job. If we find a base issue larger than what we quoted, you’ll see the change in writing before we cut a single additional paver. That’s the same standard we bring to every trade – which is why we specify James Hardie siding on exterior work, why our roofing crews install GAF and CertainTeed systems, and why our written 90-Day Done Right Promise is printed on the contract, not buried in fine print.
Common Mistakes to Avoid
- Assuming a rocking paver will “settle down.” It won’t. A paver that moves has lost base contact, and every car that drives over it widens the gap underneath.
- Patching pavers without fixing the base. Re-setting a paver over a failed base buys you a season at best. Ask any contractor to show you what’s going into the hole before they close it.
- Ignoring standing water at the garage apron. That puddle is the warning sign of a sunken section forming under the door. In Paradise, it’s usually the first thing that shows a drainage problem exists.
- Cleaning off efflorescence without investigating it. Whitening goes away after a wash. If it comes back in the same spot within a season, water is still migrating through the base.
- Accepting a “spot repair” quote that has no base detail. If the scope doesn’t list base material, depth, and compaction, you’re paying for a temporary fix. Get the scope in writing.
- Letting a contractor push full replacement without a diagnosis. Replacement is sometimes the right answer. It’s not the right answer when the contractor can’t tell you what caused the failure in the first place.
- Skipping the permit because “it’s just pavers.” In Paradise, if the work touches the curb or right-of-way, the permit inspector who signs off is the one protecting your driveway’s drainage function. The permit inspector works for you, not the contractor – that’s why we like him.
See the difference
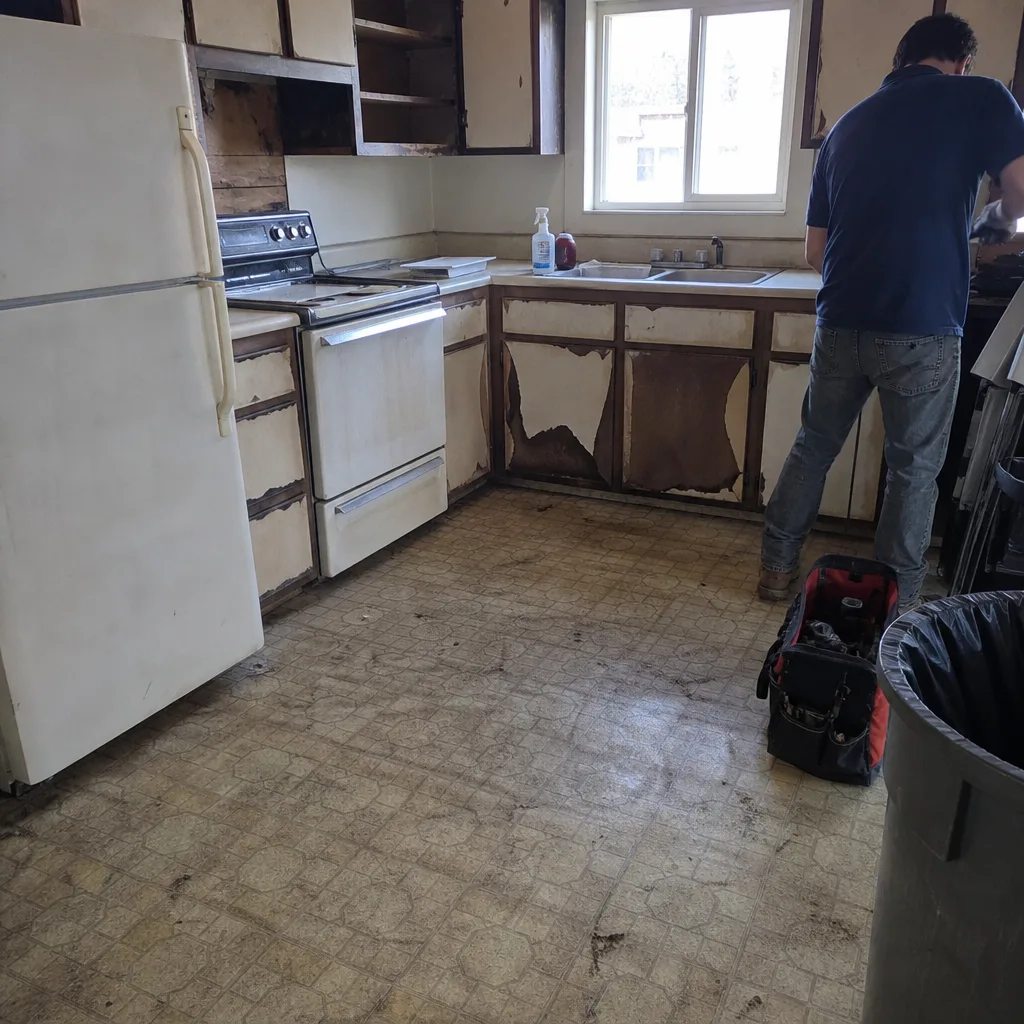 Before
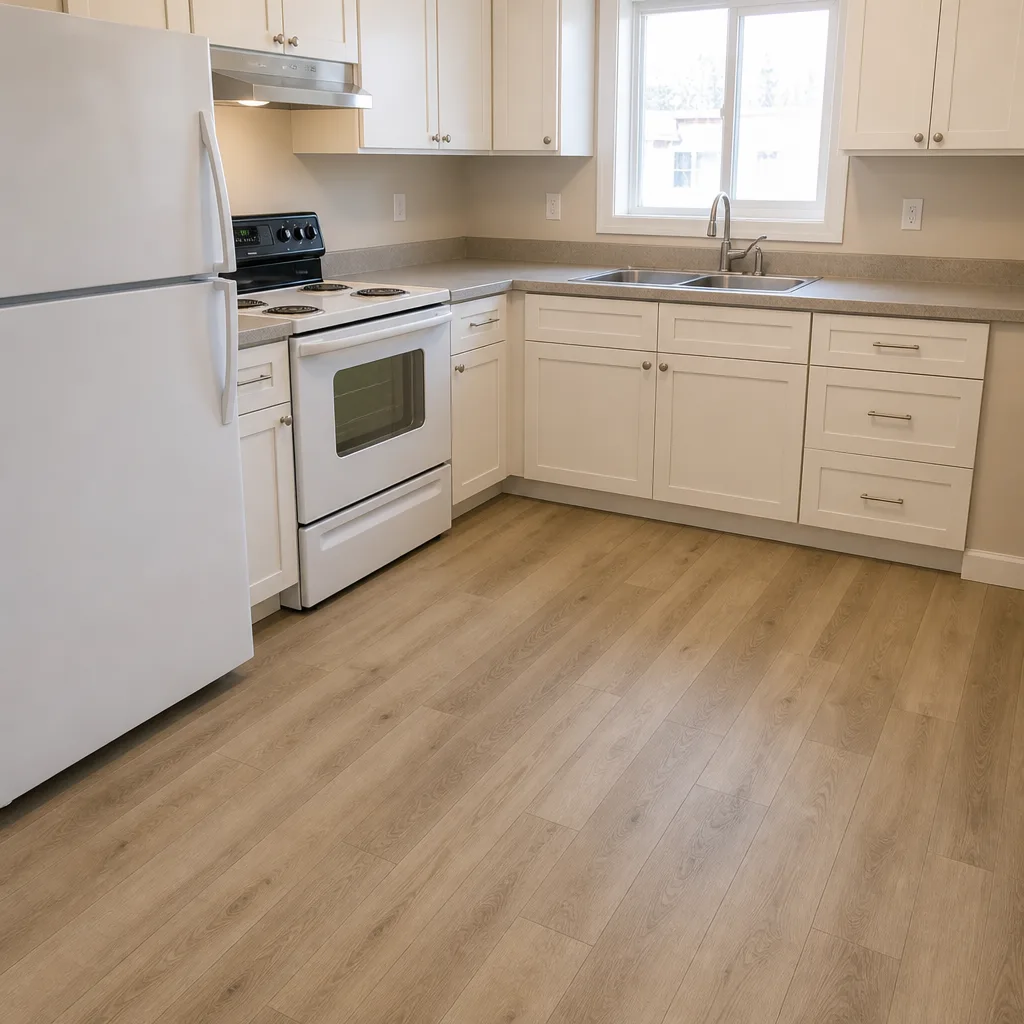 After
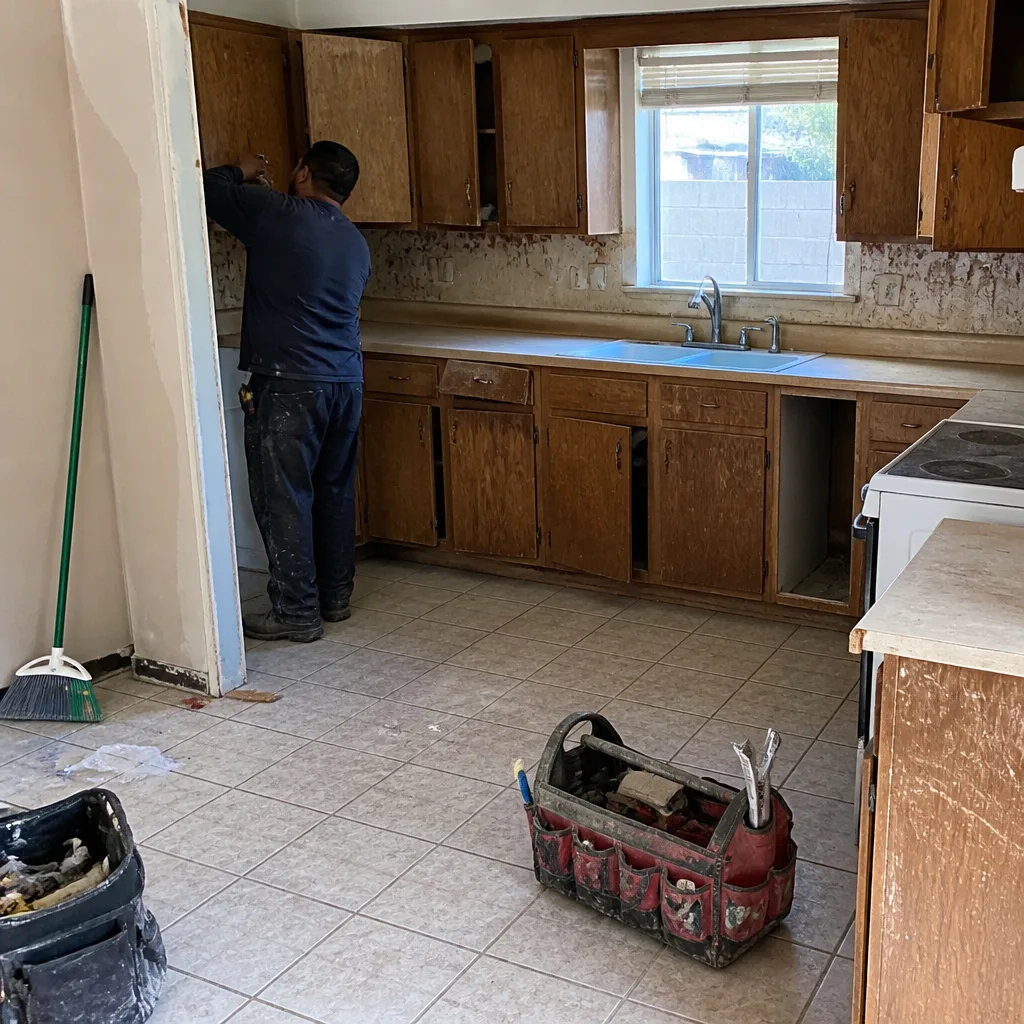 Before
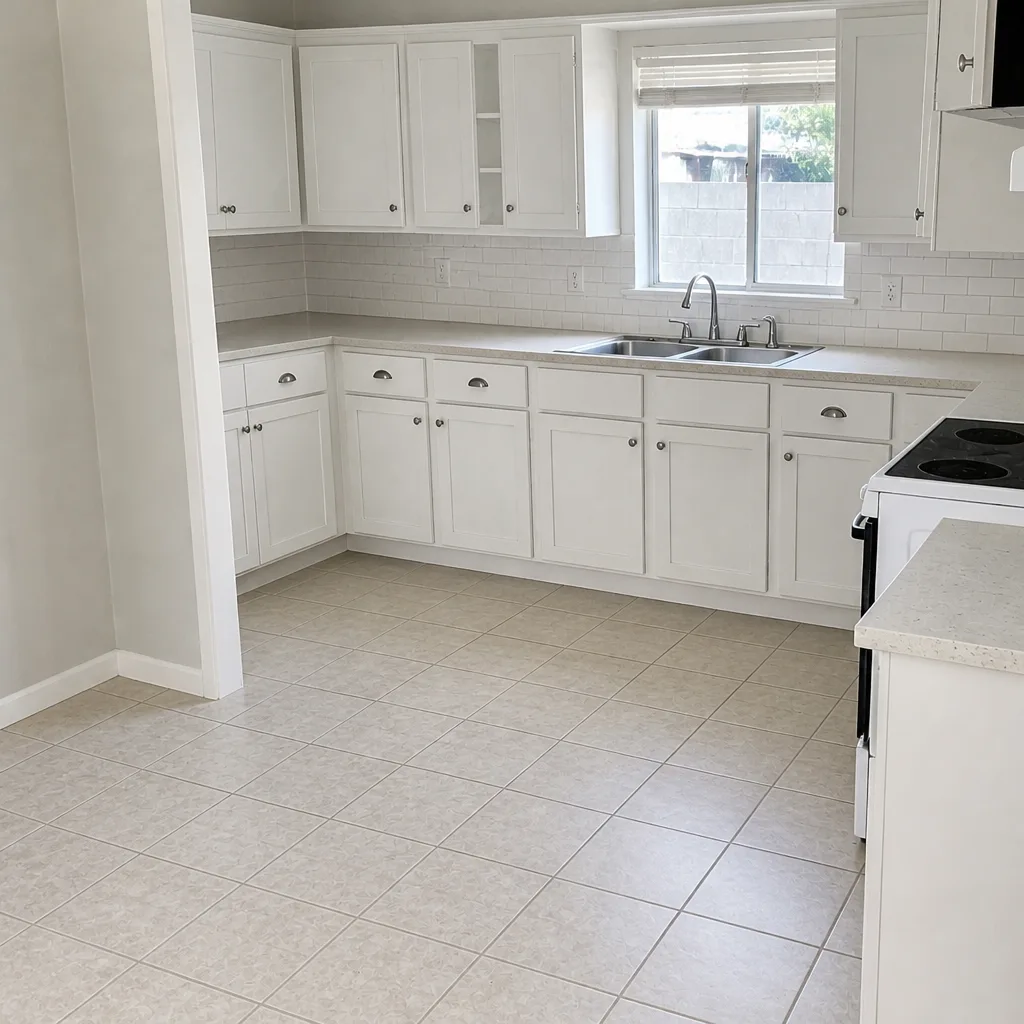 After
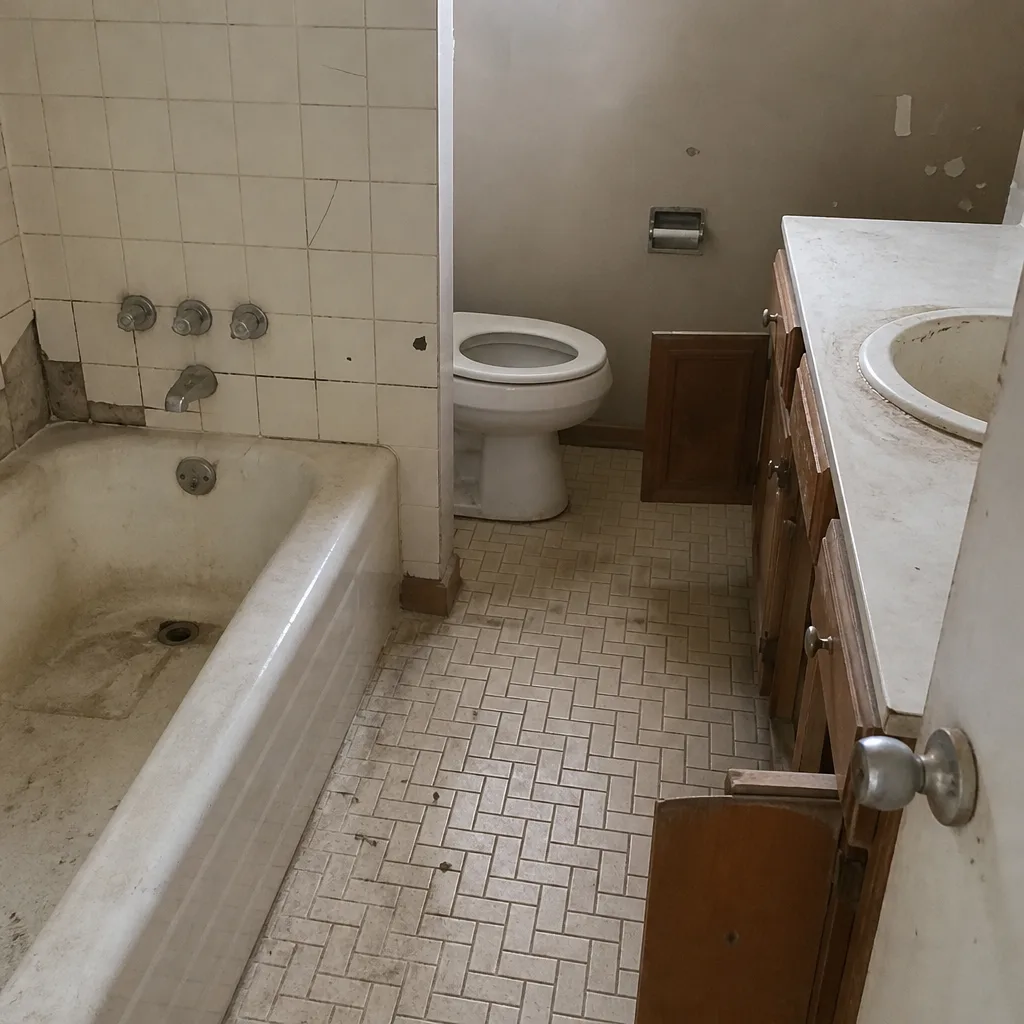 Before
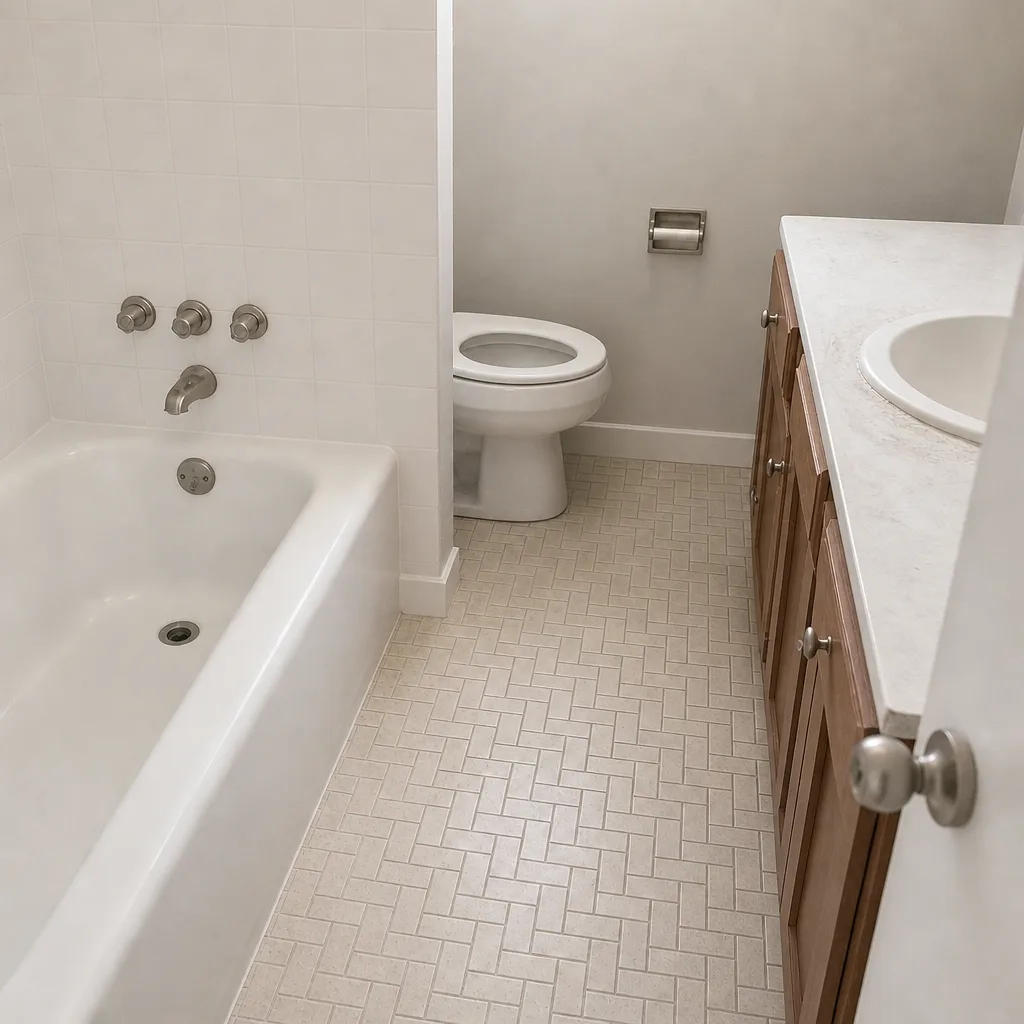 After
When to Call a Professional
Call in a professional when you find three or more warning signs on the same section of driveway, when the paver failure is at the garage apron or street transition, or when the surface water doesn’t drain within an hour of rain. Also call if the driveway is older than 10 years and shows edge creep alongside efflorescence – that combination usually means the base layer has reached the point where the correct repair is more than a spot fix. The one thing we’d never recommend is tearing open pavers next to a garage or building foundation without a drainage plan in place, because that’s where a small fix can go sideways into a structural problem. Barrett & Sons Construction Paradise offers free estimates in Paradise – call (855) 596-7029 to schedule a walkthrough.
Frequently Asked Questions
The first sign is almost always a single rocking paver, followed by sand washing out of the joints in a concentrated area. A slight dip along the driveway edge or at the garage apron is the third common early indicator. Any two of these together means the base has started to fail under that section.
Spot repairs on a small section typically run from a few hundred dollars into the low four figures depending on size, base condition, and whether permits are required. A partial sectional repair costs more, and full replacement costs the most. Call (855) 596-7029 for an exact quote – estimates are free, and we’ll show you in writing what’s going into the base before we quote the price.
No, but it’s the closest thing to one. A rocking paver isn’t urgent the way a roof leak is, but every month you wait lets water and traffic widen the gap underneath. Treat it as a “call this month” repair, not a “call next year” repair.
Not always. A light, one-time white haze on a newer install is normal. Efflorescence that keeps coming back in the same spot signals that water is moving through the base – and that’s a base issue, not a cosmetic one. Investigate the drainage near that spot before assuming it’s just a cleaning problem.
Spot repair is right when the failure is isolated – typically ten pavers or fewer, with the surrounding field stable. Full replacement is right when the failure repeats across multiple zones, the base has failed across more than a fifth of the surface, or the original install skipped compaction. A contractor who can name the specific cause of the failure is giving you an honest diagnosis. A quote with no cause and no base detail is an upsell.
Re-sanding joints takes a few hours, a spot repair of a dozen pavers takes half a day, and a sectional repair takes several days. Full replacement runs one to two weeks depending on square footage and weather. We pull permits where the scope requires it, and every scope change arrives as a written change order before work moves forward.
The Bottom Line
Most driveway paver failures in Paradise announce themselves months before they become expensive – a rocking paver, a disappearing joint line, a puddle that wasn’t there last winter, a white haze in the same spot. Read those signs early and the fix stays small. Ignore them and water does what water always does: it finds the base. The 10-minute test in this guide costs nothing. A free second opinion on a written estimate costs nothing. A full tear-out after a missed repair costs thousands. If you’re not sure which warning sign you’re looking at, call us before the rainy season. We’ll walk it with you and put what we find in writing. Call (855) 596-7029 to schedule your free estimate, and check the license before you sign anything – ours is published and verifiable.
Written by the team at Barrett & Sons Construction Paradise.